
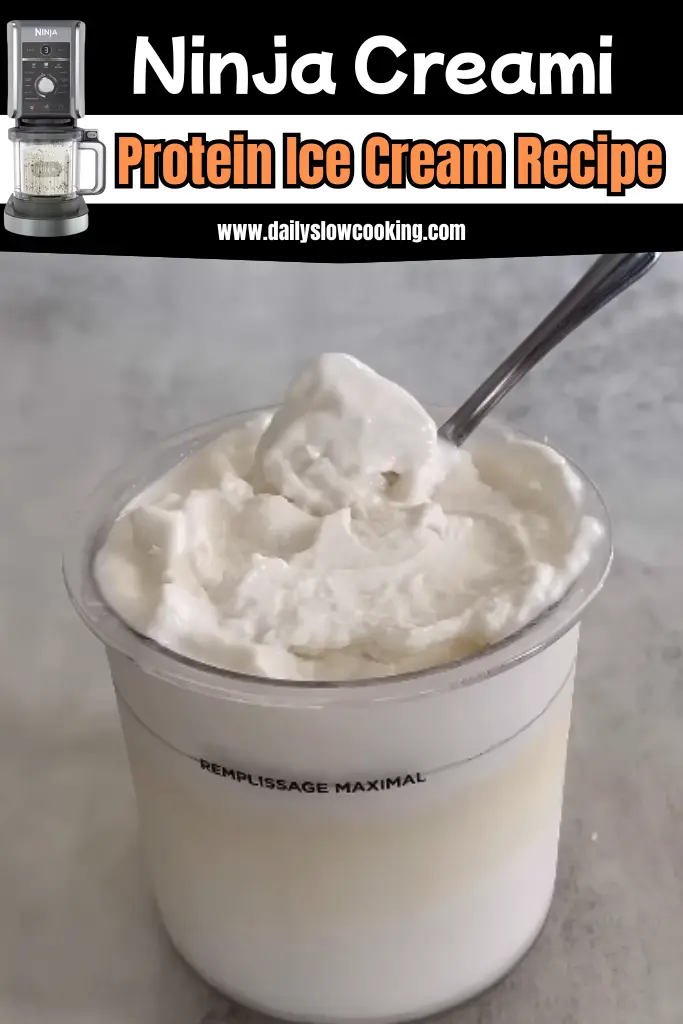
This Ninja Creami Protein Ice Cream Recipe is my favorite way to enjoy a sweet, healthy treat at home. It’s so easy to make, and the creamy texture blows me away every time.
Whether you’re new to the Ninja Creami or a pro, this recipe is foolproof and fun. Try it out, play with your favorite flavors, and let me know how it turns out.
You’re going to love this Soft Serve Ice Cream Recipe as much as I do!
Why I Love This Ninja Creami Protein Ice Cream
I’m obsessed with this Ninja Creami Protein Ice Cream Recipe because it’s a game-changer for dessert lovers like me. Here’s why it’s a must-try:
- Healthy and Tasty: It’s packed with protein but feels like a real treat.
- Super Easy: You just mix, freeze, and spin—no hard work needed.
- Customizable: Add your favorite flavors or toppings to make it your own.
- Guilt-Free: I can eat a whole pint without feeling bad about it!
This recipe is my go-to when I want something sweet but don’t want to mess up my healthy eating goals.
Ninja Creami Protein Ice Cream Ingredients
Here’s what you need to make this creamy, protein-packed treat. I’ve broken down each ingredient so you know exactly why it’s in there and how it helps.
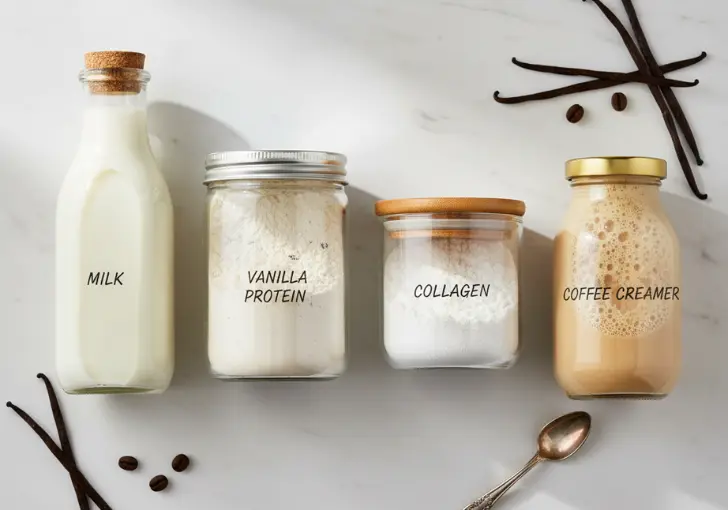
- Fairlife 2% Milk (285 ml): I use Fairlife because it’s got more protein than regular milk—about 13 grams per cup! The 2% fat makes the ice cream creamy without being too heavy. It’s the base that holds everything together and gives that smooth texture we all love.
- Vanilla Protein Powder (1 scoop, about 34 grams): This is the star for protein—around 25 grams per scoop! I like Clean Simple Eats or Just Ingredients because they taste great and blend well. Vanilla is versatile, but you can use chocolate or other flavors too.
- Unflavored Collagen Powder (10 grams): This is my secret for extra creaminess and a protein boost (about 9 grams). It thickens the mix without changing the flavor. I use Clean Simple Eats, but any brand works. If you skip it, the ice cream might be a bit icy.
- Chobani Coffee Creamer (1 tablespoon): This adds a hint of sweetness and richness. I love the coffee flavor for a slight mocha vibe, but you can use sweet cream or vanilla. It helps make the texture super smooth and adds a touch of fun.
Helpful Swaps
Don’t have an ingredient? No worries! Here are some easy swaps to keep your Ninja Creami Protein Ice Cream just as tasty:
- Milk: Swap Fairlife 2% for whole milk, almond milk, or oat milk. Whole milk makes it creamier, while plant-based milks work for dairy-free diets but might be less creamy.
- Protein Powder: Use any flavor you like—chocolate, strawberry, or even cookies and cream. Just make sure it’s a brand you enjoy drinking in shakes.
- Collagen Powder: If you don’t have collagen, try 1 tablespoon of sugar-free vanilla pudding mix or ¼ teaspoon of xanthan gum for that creamy texture.
- Creamer: No creamer? Use a teaspoon of honey, maple syrup, or a splash of heavy cream for richness. You can skip it, but the ice cream might be less sweet.
Kitchen Equipment Needed
To make this Ninja Creami Protein Ice Cream, you’ll need just a few tools. Don’t worry—nothing fancy here!
- Ninja Creami Machine: This is the magic maker that turns your frozen mix into creamy ice cream. I use the 5-in-1 model, but any Ninja Creami works.
- Ninja Creami Pint Container: Comes with the machine. It’s where you mix and freeze your ingredients. I recommend getting extra pints for making multiple flavors.
- Immersion Blender or Whisk: To mix the ingredients smoothly. An immersion blender is easier, but a whisk works if you put in some elbow grease.
- Measuring Cups and Spoons: For getting the right amounts of milk, protein powder, and creamer.
- Freezer: To freeze your mix for 8-24 hours. Make sure it’s flat so the mix freezes evenly.
- Spoon or Spatula: For stirring and scooping your ice cream after spinning.
How to Make Ninja Creami Protein Ice Cream
Making this Ninja Creami Protein Ice Cream Recipe is so easy, even if you’re new to cooking. I’ll walk you through each step like I’m right there with you. Let’s get started!
Step 1 | Gather Your Ingredients
Grab your Fairlife 2% milk, vanilla protein powder, collagen powder, and coffee creamer. Make sure your Ninja Creami pint container is clean and ready.
Step 2 | Mix the Base
Pour 285 ml of Fairlife 2% milk into the Ninja Creami pint container. Add 1 scoop (34 grams) of vanilla protein powder, 10 grams of collagen powder, and 1 tablespoon of Chobani coffee creamer. Use an immersion blender or whisk to mix everything until it’s smooth. No lumps allowed!
Step 3 | Check the Level
Make sure the mix is below the “max fill” line on the pint container. If it’s too high, pour a little out. This keeps your Ninja Creami happy.
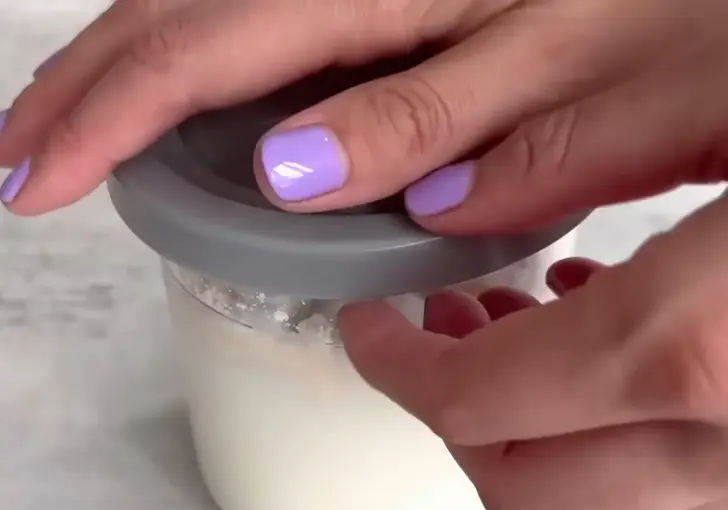
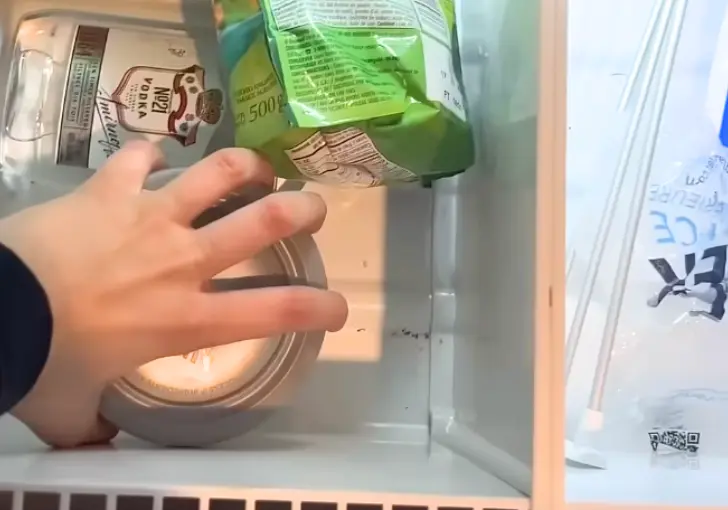
Step 4 | Freeze the Mix
Put the lid on the pint container and place it flat in your freezer. Let it freeze for at least 8 hours, but overnight (24 hours) is best for a solid freeze.
Step 5 | Prep the Ninja Creami
Take the frozen pint out of the freezer. If there’s a bump in the center, scrape it flat with a spoon. This helps the machine blend better.
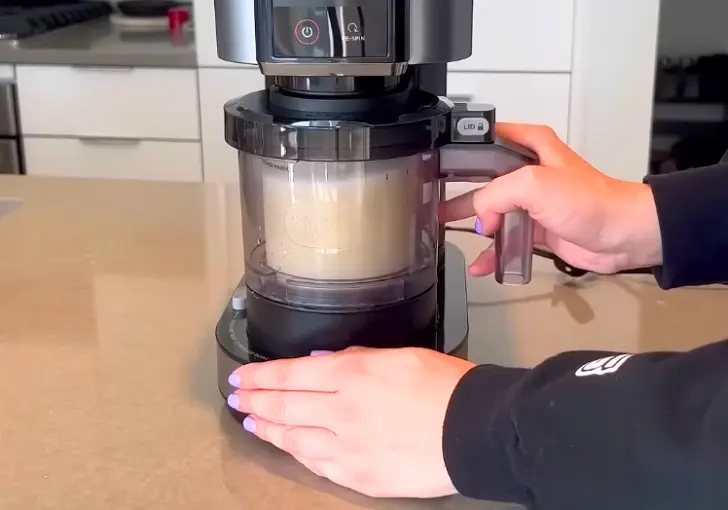
Step 6 | Spin It
Place the pint in the Ninja Creami outer bowl and lock the lid. Put it in the machine and select the “Lite Ice Cream” setting. It’ll take a couple of minutes and be a bit loud, but that’s normal!
Step 7 | Check the Texture
After the first spin, your ice cream might look powdery. That’s okay! Make a small hole in the center and add 2 tablespoons of milk (same kind you used before).
Step 8 | Re-Spin
Put the pint back in the machine and hit the “Re-Spin” button. This makes it super creamy. If it’s still not smooth, add another tablespoon of milk and re-spin again.
Step 9 | Add Mix-Ins (Optional)
Want to get fancy? After the re-spin, make a small well in the center and add mix-ins like crushed Oreos, chocolate chips, or fresh berries. Use the “Mix-In” setting to blend them in.
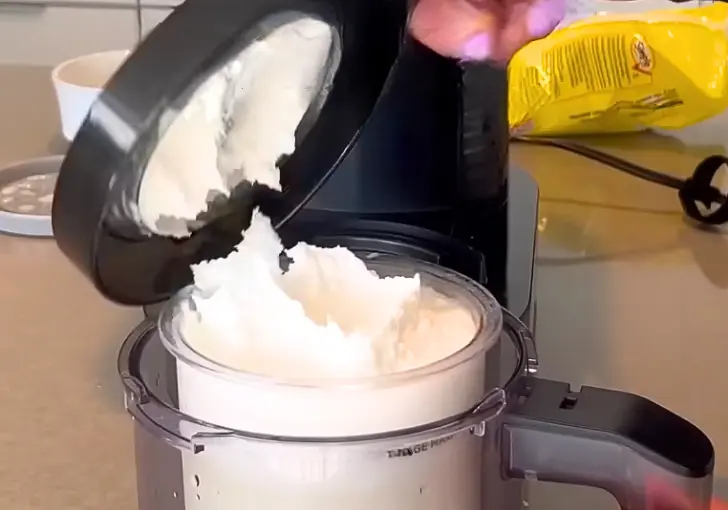
Step 10 | Serve and Enjoy
Scoop your ice cream into a bowl or eat it right from the pint. It’s ready to enjoy, and trust me, it’s so good!
Recipe Tips for Success
Here are some quick tips to make your Ninja Creami Protein Ice Cream perfect every time:
- Freeze Flat: Place the pint on a flat surface in the freezer to avoid uneven freezing.
- Don’t Overfill: Stay below the max fill line to prevent spills in the machine.
- Use Cold Milk for Re-Spin: Cold milk keeps the texture smooth during re-spins.
- Experiment with Flavors: Try different protein powders or mix-ins to keep it fun.
- Clean the Pint: Rinse the pint right after eating to make it easy to reuse.
Make Ahead Tips
I love prepping this Ninja Creami Protein Ice Cream ahead of time—it’s a lifesaver for busy days. Mix up the base (milk, protein powder, collagen, and creamer) and pour it into multiple Ninja Creami pints.
Freeze them for 8-24 hours, and you’ll have ready-to-spin ice cream whenever you want. I usually make three pints on Sunday for the week. Label the lids with a dry-erase marker to track flavors. When you’re ready, just pop a pint in the Ninja Creami, spin, and enjoy.
It’s perfect for quick desserts or post-workout treats, and you’ll always have a healthy option waiting in the freezer.
What Can Serve With Ninja Creami Protein Ice Cream
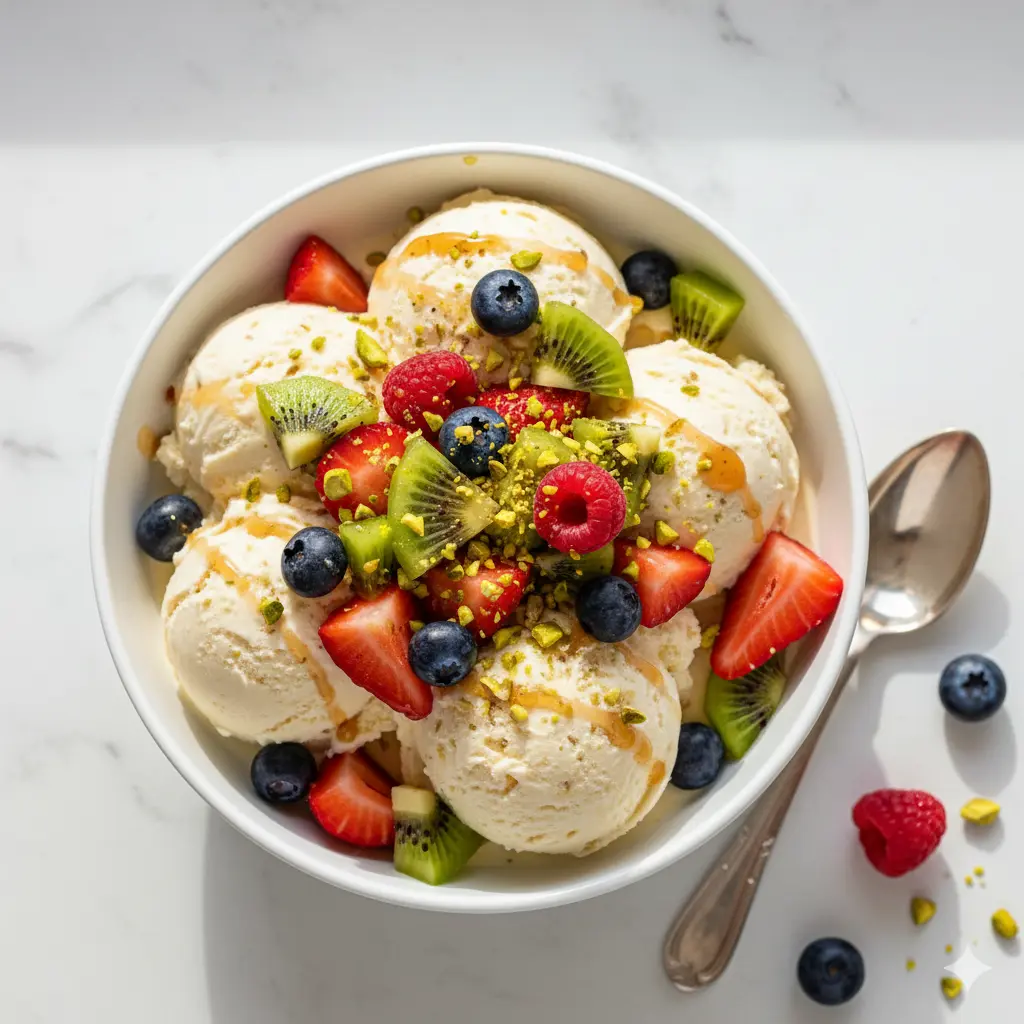
This Ninja Creami Protein Ice Cream is awesome on its own, but pairing it with extras makes it even better. Here are some ideas:
- Fresh Fruit: Sliced strawberries or bananas add a fresh, sweet bite.
- Nuts: Sprinkle chopped almonds or peanuts for a crunchy contrast.
- Chocolate Sauce: Drizzle a little sugar-free chocolate syrup for decadence.
- Granola: A handful of granola adds texture and a breakfast vibe.
How to Store Ninja Creami Protein Ice Cream
Storing your Ninja Creami Protein Ice Cream is easy. If you don’t eat the whole pint, smooth the leftover ice cream with a spoon, pop the lid back on, and put it in the freezer.
It’ll stay good for up to three months, but cover it tightly to avoid freezer burn. When you’re ready to eat it again, run the pint under warm water for 20 seconds to loosen it, then spin it in the Ninja Creami using the “Lite Ice Cream” setting.
You might need a re-spin with a splash of milk for that creamy texture. This way, you can enjoy your ice cream anytime without losing that fresh taste.
Ninja Creami Protein Ice Cream Recipe FAQs
1. Can I use a regular blender instead of a Ninja Creami?
No, a regular blender won’t give you the same creamy texture. The Ninja Creami is special because it chops and blends frozen ingredients into smooth ice cream. A blender needs more liquid, which makes the ice cream less thick. If you don’t have a Creami, try a food processor, but it still won’t be as creamy. Trust me, the Ninja Creami is worth it for this recipe!
2. What if I don’t have collagen powder?
No collagen? No problem! You can skip it, but the ice cream might be a bit icy. Instead, try 1 tablespoon of sugar-free pudding mix or ¼ teaspoon of xanthan gum to keep it creamy. These add thickness without changing the flavor much. I’ve tested it without collagen, and it’s still tasty, just less smooth.
3. Can I make this dairy-free?
Yes! Swap the Fairlife milk for almond, oat, or coconut milk. Use a dairy-free protein powder and skip the creamer or use a plant-based one. The texture might be slightly less creamy, but it’s still delicious. I’ve made it with almond milk, and it’s a great option for dairy-free friends.
4. How do I avoid a powdery texture?
If your ice cream is powdery after the first spin, don’t worry! Add 2-3 tablespoons of cold milk and re-spin. Make sure your mix is frozen solid before spinning, and don’t skip the re-spin step. I’ve found that two spins usually do the trick for that perfect creamy texture.
5. Can I add mix-ins? What are some good ones?
Absolutely! Add mix-ins like crushed Oreos, chocolate chips, or fresh fruit after the first or second spin. Use the “Mix-In” setting to blend them evenly. My favorites are chopped strawberries, peanut butter drizzle, or gluten-free cookie pieces. Start with 1-2 tablespoons so the machine doesn’t get overwhelmed.
6. How long does it take to freeze the mix?
The mix needs 8-24 hours to freeze solid. I usually freeze mine overnight for the best results. If your freezer is super cold, 8 hours might work, but 24 hours ensures it’s ready. Check that it’s frozen all the way through before spinning to avoid a runny texture.
Ninja Creami Protein Ice Cream Recipe
Creamy Ninja Creami Protein Ice Cream in just 10 mins active time! High-protein treat made with Fairlife milk, perfect for healthy dessert cravings.
Ingredients
- 285 ml Fairlife 2% Milk
- 1 scoop (34 g) Vanilla Protein Powder
- 10 g Unflavored Collagen Powder
- 1 tablespoon Chobani Coffee Creamer
Instructions
Step 1 | Gather Your Ingredients
Grab your Fairlife 2% milk, vanilla protein powder, collagen powder, and coffee creamer. Make sure your Ninja Creami pint container is clean and ready.
Step 2 | Mix the Base
Pour 285 ml of Fairlife 2% milk into the Ninja Creami pint container. Add 1 scoop (34 grams) of vanilla protein powder, 10 grams of collagen powder, and 1 tablespoon of Chobani coffee creamer. Use an immersion blender or whisk to mix everything until it’s smooth. No lumps allowed!
Step 3 | Check the Level
Make sure the mix is below the “max fill” line on the pint container. If it’s too high, pour a little out. This keeps your Ninja Creami happy.
Step 4 | Freeze the Mix
Put the lid on the pint container and place it flat in your freezer. Let it freeze for at least 8 hours, but overnight (24 hours) is best for a solid freeze.
Step 5 | Prep the Ninja Creami
Take the frozen pint out of the freezer. If there’s a bump in the center, scrape it flat with a spoon. This helps the machine blend better.
Step 6 | Spin It
Place the pint in the Ninja Creami outer bowl and lock the lid. Put it in the machine and select the “Lite Ice Cream” setting. It’ll take a couple of minutes and be a bit loud, but that’s normal!
Step 7 | Check the Texture
After the first spin, your ice cream might look powdery. That’s okay! Make a small hole in the center and add 2 tablespoons of milk (same kind you used before).
Step 8 | Re-Spin
Put the pint back in the machine and hit the “Re-Spin” button. This makes it super creamy. If it’s still not smooth, add another tablespoon of milk and re-spin again.
Step 9 | Add Mix-Ins (Optional)
Want to get fancy? After the re-spin, make a small well in the center and add mix-ins like crushed Oreos, chocolate chips, or fresh berries. Use the “Mix-In” setting to blend them in.
Step 10 | Serve and Enjoy
Scoop your ice cream into a bowl or eat it right from the pint. It’s ready to enjoy, and trust me, it’s so good!
Nutrition Information:
Serving Size:
1Amount Per Serving: Calories: 270Total Fat: 6gSaturated Fat: 3.5gCholesterol: 50mgSodium: 200mgCarbohydrates: 10gSugar: 6gProtein: 47g
Did you make this Ninja Creami Protein Ice Cream Recipe? Please leave a ⭐ rating and review!


Leave a Reply