
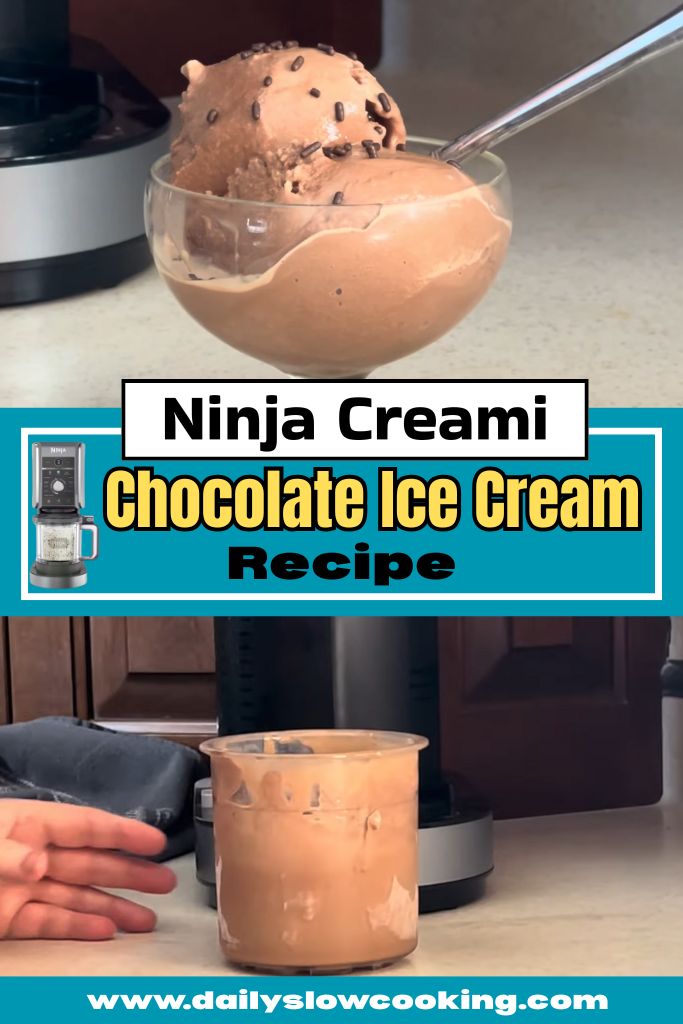
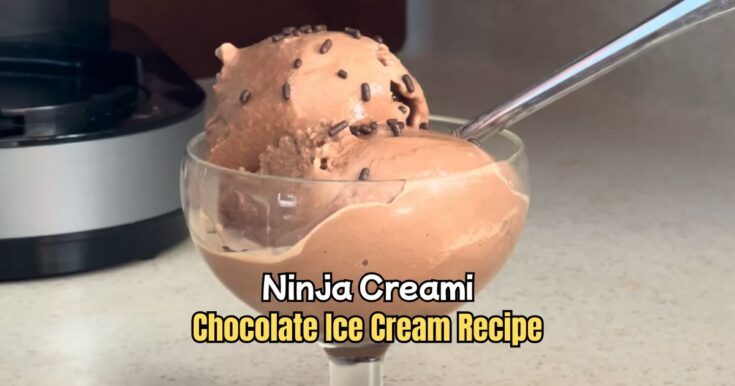
I’m so pumped to share my Ninja Creami Chocolate Ice Cream Recipe with you! Imagine digging into a bowl of smooth, chocolatey goodness on a warm day.
This recipe is super easy to make with the Ninja Creami, and it’s perfect for anyone who loves a sweet treat without the hassle. You’ll be amazed at how creamy and delicious it turns out, even if you’re new to cooking.
It’s my favorite way to cool off! Give it a try, and I bet you’ll love it too.
Craving another fun dessert? Check out my Ninja Creami Strawberry Ice Cream Recipe for a refreshing sip. Let’s get started on this chocolatey adventure!
Why You Love This Ninja Creami Chocolate Ice Cream
This Ninja Creami Chocolate Ice Cream is a game-changer! Here’s why you’ll be hooked:
- Super Easy: Just mix, freeze, and let the Ninja Creami do the magic.
- Rich Flavor: It’s packed with deep chocolate taste that hits all the right spots.
- Customizable: Add your favorite mix-ins like nuts or sprinkles.
- Quick Prep: Takes just 10 minutes to prep before freezing.
I can’t get enough of this ice cream because it’s so simple to make and tastes like it came from an ice cream shop.
Ninja Creami Chocolate Ice Cream Ingredients
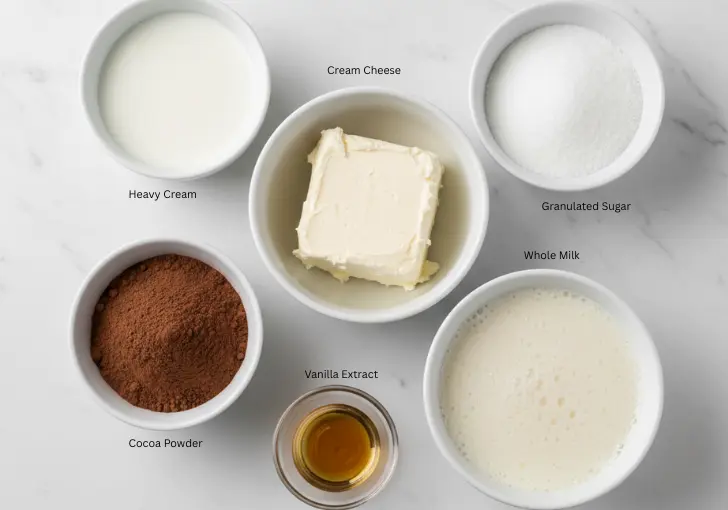
Let’s talk about what goes into this yummy Ninja Creami Chocolate Ice Cream. Each ingredient is easy to find, and I’ll explain why they matter.
- Cream Cheese (2 tablespoons, softened): This adds a rich, creamy texture. I use full-fat cream cheese for the best results, but low-fat works too. Soften it in the microwave for 10 seconds to make mixing easier.
- Cocoa Powder (3 ½ tablespoons, unsweetened): This is the star for that deep chocolate flavor. I recommend Dutch-processed cocoa powder because it gives a smoother, richer taste. Regular cocoa works, but Dutch-processed is my go-to.
- Granulated Sugar (½ cup): Sugar sweetens the ice cream just right. It dissolves easily, so your ice cream stays smooth, not gritty. You can use a bit less if you like it less sweet.
- Vanilla Extract (1 ½ teaspoons): This adds a warm, subtle flavor that makes the chocolate pop. Pure vanilla extract is best, but imitation works in a pinch.
- Heavy Whipping Cream (1 ¼ cups): This makes the ice cream super creamy. It’s the key to that scoopable texture we all love. Make sure it’s cold when you use it.
- Whole Milk (1 ½ cups): Milk balances the richness of the cream. I use whole milk for the best texture, but 2% can work if that’s what you have.
Helpful Swaps
Don’t have all the ingredients? No worries! Here are some easy swaps to make this Ninja Creami Chocolate Ice Cream work for you:
- Cream Cheese: Use vegan cream cheese for a dairy-free version. Mascarpone cheese also works for a richer flavor.
- Cocoa Powder: If you don’t have Dutch-processed, regular unsweetened cocoa powder is fine. For a darker flavor, try adding a tablespoon of dark chocolate cocoa powder.
- Granulated Sugar: Swap with coconut sugar or a sugar substitute like stevia for a lower-sugar option. Check the package for the right amount to use.
- Heavy Whipping Cream: Use coconut cream for a dairy-free version. Half-and-half can work but might make it less creamy.
- Whole Milk: Try unsweetened almond milk, oat milk, or coconut milk for a dairy-free or lighter option. The texture might change slightly.
- Vanilla Extract: If you’re out, skip it or use a pinch of vanilla powder. It won’t make a huge difference.
Kitchen Equipment Needed
To make this Ninja Creami Chocolate Ice Cream, you’ll need a few simple tools. Don’t worry, nothing fancy here:
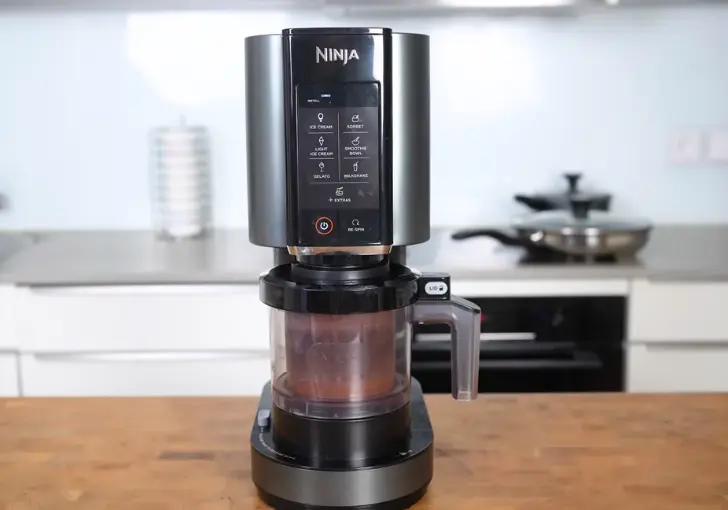
- Ninja Creami Machine: This is the star of the show! It turns your frozen mix into creamy ice cream.
- Ninja Creami Pint Container: Comes with the machine. It’s where you’ll mix and freeze your ice cream base.
- Blender or Whisk: A blender makes mixing super fast, but a whisk and bowl work if you want to keep it simple.
- Measuring Cups and Spoons: For getting the right amounts of each ingredient.
- Microwave-Safe Bowl: To soften the cream cheese quickly.
- Spatula or Wooden Spoon: For mixing and smoothing the base before freezing.
- Freezer: To freeze the mixture for at least 24 hours.
How to Make Ninja Creami Chocolate Ice Cream
Making this Ninja Creami Chocolate Ice Cream is so easy, even if you’ve never made ice cream before. I’ll walk you through each step like we’re in the kitchen together. Let’s get started!
Step 1 | Soften the Cream Cheese
Grab a microwave-safe bowl and put in 2 tablespoons of cream cheese. Pop it in the microwave for 10 seconds to soften it. If you don’t have a microwave, let it sit at room temperature for about 20 minutes. Soft cream cheese mixes better and gives a smooth texture.
Step 2 | Mix the Base
Add 3 ½ tablespoons of cocoa powder, ½ cup of sugar, and 1 ½ teaspoons of vanilla extract to the cream cheese. Use a spatula or wooden spoon to stir until it looks like frosting. This takes about a minute.
Then, slowly pour in 1 ½ cups of whole milk and 1 ¼ cups of heavy whipping cream. Keep stirring until everything is mixed and the sugar is fully dissolved. It should look like chocolate milk.
Step 3 | Blend for Smoothness
I like to pour the mixture into a blender and blend for 30 seconds. This makes sure everything is super smooth. If you don’t have a blender, whisk it well in a bowl. No lumps allowed!
Step 4 | Pour into the Pint
Pour the mixture into the Ninja Creami pint container. Don’t go past the “MAX FILL” line on the container. Put the lid on tightly.
Step 5 | Freeze the Mixture
Place the pint in your freezer on a flat surface. Let it freeze for at least 24 hours. I usually prep it at night so it’s ready the next evening. A level freeze helps the texture stay perfect.
Step 6 | Set Up the Ninja Creami
After 24 hours, take the pint out of the freezer and remove the lid. Place the pint in the outer bowl of the Ninja Creami. Attach the Creamerizer Paddle to the lid by pressing the latch and inserting the paddle. Lock the lid onto the outer bowl by twisting it clockwise until it clicks.
Step 7 | Run the Ice Cream Program
Plug in the Ninja Creami and press the power button. The “Ice Cream” button should light up. Press it to start the program. It takes about 2 minutes, and you’ll hear it working its magic.
Step 8 | Check the Texture
When the program finishes, unlock the outer bowl by twisting the handle back to the center. Remove the lid and check your ice cream. If it looks creamy and scoopable, you’re good to go! If it’s crumbly or powdery, don’t worry—move to the next step.
Step 9 | Re-Spin if Needed
If the ice cream is crumbly, add 1 tablespoon of milk to the center of the pint. Put the lid back on, lock it, and press the “Re-Spin” button. This usually makes it super creamy. You might need to re-spin twice if it’s still not smooth.
Step 10 | Add Mix-Ins (Optional)
Want to make it extra fun? Scoop out a small well in the center and add mix-ins like chocolate chips, crushed Oreos, or sprinkles. Lock the lid back on and press the “Mix-In” button to blend them in.
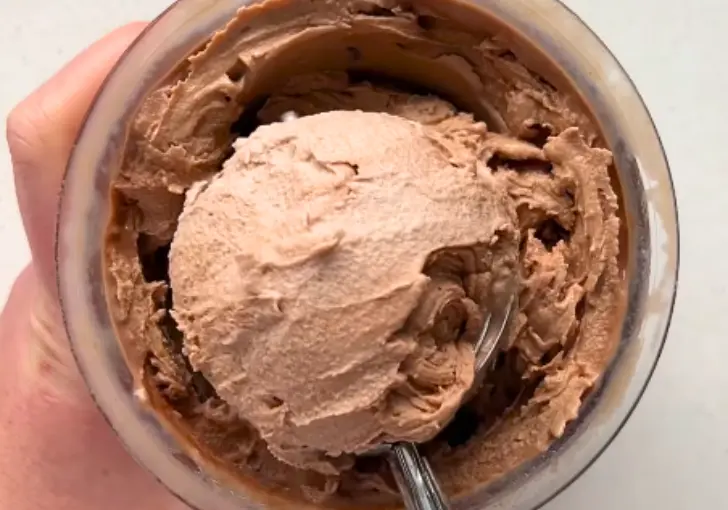
Step 11 | Serve and Enjoy
Scoop the ice cream into bowls or cones and dig in! It’s best enjoyed right away for that perfect creamy texture.
Recipe Tips for Success
Here are some quick tips to make your Ninja Creami Chocolate Ice Cream turn out perfect every time:
- Freeze Flat: Make sure the pint is level in the freezer to avoid uneven freezing.
- Check the Fill Line: Don’t overfill past the “MAX FILL” line, or it might not spin properly.
- Use Cold Ingredients: Cold milk and cream help the mixture freeze better.
- Soften Cream Cheese: Soft cream cheese mixes easier and prevents lumps.
- Taste Before Freezing: Try the mix to adjust sugar or cocoa if needed.
- Clean the Paddle: Rinse the Creamerizer Paddle right after use to avoid sticky messes.
Ninja Creami Chocolate Ice Cream Serving Suggestion
This Ninja Creami Chocolate Ice Cream is so versatile! Here are some fun ways to serve it:
- Classic Bowl: Scoop into a bowl and top with whipped cream and a cherry.
- Ice Cream Cone: Serve in a waffle cone for a fun, kid-friendly treat.
- Sundae Style: Add hot fudge, nuts, and sprinkles for a decadent sundae.
- With Fruit: Pair with fresh strawberries or bananas for a fruity twist.
How to Store Ninja Creami Chocolate Ice Cream
Storing your Ninja Creami Chocolate Ice Cream is super easy. After you’re done enjoying it, use a spoon to smooth out the top of the ice cream in the Ninja Creami pint container.
Pop the lid back on tightly and place it in the freezer. It’ll stay good for about 1-2 months. If it gets too hard, let it sit at room temperature for 5-10 minutes before scooping. You can also re-spin it using the “Ice Cream” program to make it creamy again.
If you want to store it in another container, transfer it to an airtight one to prevent freezer burn. I love keeping a pint ready in the freezer for whenever a chocolate craving hits!
Ninja Creami Chocolate Ice Cream Recipe FAQs
1. Why is my ice cream crumbly after the first spin?
If your ice cream is crumbly, it’s likely too cold or needs more liquid. Try adding 1 tablespoon of milk to the center and use the “Re-Spin” function. Sometimes, I re-spin twice to get it super creamy. Also, make sure your freezer isn’t too cold (ideally between 9°F and -7°F).
2. Can I use a different sweetener?
Absolutely! You can use honey, maple syrup, or a sugar substitute like stevia. Check the package for the right amount to match ½ cup of sugar. I’ve tried coconut sugar, and it adds a nice caramel flavor. Just make sure it dissolves fully when mixing.
3. How long does it take to freeze the mixture?
The mixture needs at least 24 hours in the freezer to get solid. I usually freeze it overnight for the best results. If you’re in a rush, 18 hours might work, but 24 is safer for a creamy texture. Keep it level in the freezer
4. Can I add mix-ins to this recipe?
Yes, mix-ins are so fun! Try chocolate chips, crushed cookies, or nuts. After the first spin, scoop a small well in the center, add your mix-ins, and use the “Mix-In” program. I love adding Oreos for a cookies-and-cream vibe. Don’t add mix-ins before freezing, or they might sink.
5. What if I don’t have a Ninja Creami?
This recipe is designed for the Ninja Creami, so it won’t work the same with a regular ice cream maker. You could try a no-churn recipe instead, using whipped cream and sweetened condensed milk. Check out my other recipes for no-churn options if you don’t have a Creami
Ninja Creami Chocolate Ice Cream Recipe
Creamy Ninja Creami Chocolate Ice Cream in just 10 mins prep! Deep chocolate flavor, ultra-smooth texture—ready after 24 hrs freeze time. Indulge now!
Ingredients
- Cream Cheese – 2 tablespoons, softened
- Cocoa Powder (unsweetened) – 3 ½ tablespoons
- Granulated Sugar – ½ cup
- Vanilla Extract – 1 ½ teaspoons
- Heavy Whipping Cream – 1 ¼ cups
- Whole Milk – 1 ½ cups
Instructions
Step 1 | Soften the Cream Cheese
Grab a microwave-safe bowl and put in 2 tablespoons of cream cheese. Pop it in the microwave for 10 seconds to soften it. If you don’t have a microwave, let it sit at room temperature for about 20 minutes. Soft cream cheese mixes better and gives a smooth texture.
Step 2 | Mix the Base
Add 3 ½ tablespoons of cocoa powder, ½ cup of sugar, and 1 ½ teaspoons of vanilla extract to the cream cheese. Use a spatula or wooden spoon to stir until it looks like frosting. This takes about a minute. Then, slowly pour in 1 ½ cups of whole milk and 1 ¼ cups of heavy whipping cream. Keep stirring until everything is mixed and the sugar is fully dissolved. It should look like chocolate milk.
Step 3 | Blend for Smoothness
I like to pour the mixture into a blender and blend for 30 seconds. This makes sure everything is super smooth. If you don’t have a blender, whisk it well in a bowl. No lumps allowed!
Step 4 | Pour into the Pint
Pour the mixture into the Ninja Creami pint container. Don’t go past the “MAX FILL” line on the container. Put the lid on tightly.
Step 5 | Freeze the Mixture
Place the pint in your freezer on a flat surface. Let it freeze for at least 24 hours. I usually prep it at night so it’s ready the next evening. A level freeze helps the texture stay perfect.
Step 6 | Set Up the Ninja Creami
After 24 hours, take the pint out of the freezer and remove the lid. Place the pint in the outer bowl of the Ninja Creami. Attach the Creamerizer Paddle to the lid by pressing the latch and inserting the paddle. Lock the lid onto the outer bowl by twisting it clockwise until it clicks.
Step 7 | Run the Ice Cream Program
Plug in the Ninja Creami and press the power button. The “Ice Cream” button should light up. Press it to start the program. It takes about 2 minutes, and you’ll hear it working its magic.
Step 8 | Check the Texture
When the program finishes, unlock the outer bowl by twisting the handle back to the center. Remove the lid and check your ice cream. If it looks creamy and scoopable, you’re good to go! If it’s crumbly or powdery, don’t worry—move to the next step.
Step 9 | Re-Spin if Needed
If the ice cream is crumbly, add 1 tablespoon of milk to the center of the pint. Put the lid back on, lock it, and press the “Re-Spin” button. This usually makes it super creamy. You might need to re-spin twice if it’s still not smooth.
Step 10 | Add Mix-Ins (Optional)
Want to make it extra fun? Scoop out a small well in the center and add mix-ins like chocolate chips, crushed Oreos, or sprinkles. Lock the lid back on and press the “Mix-In” button to blend them in.
Step 11 | Serve and Enjoy
Scoop the ice cream into bowls or cones and dig in! It’s best enjoyed right away for that perfect creamy texture.
Nutrition Information:
Serving Size:
1Amount Per Serving: Calories: 330Total Fat: 26gSaturated Fat: 16gCholesterol: 90mgSodium: 55mgCarbohydrates: 22gFiber: 2gSugar: 18gProtein: 4g
Did you make this Ninja Creami Chocolate Ice Cream Recipe? Please leave a ⭐ rating and review!


Leave a Reply