
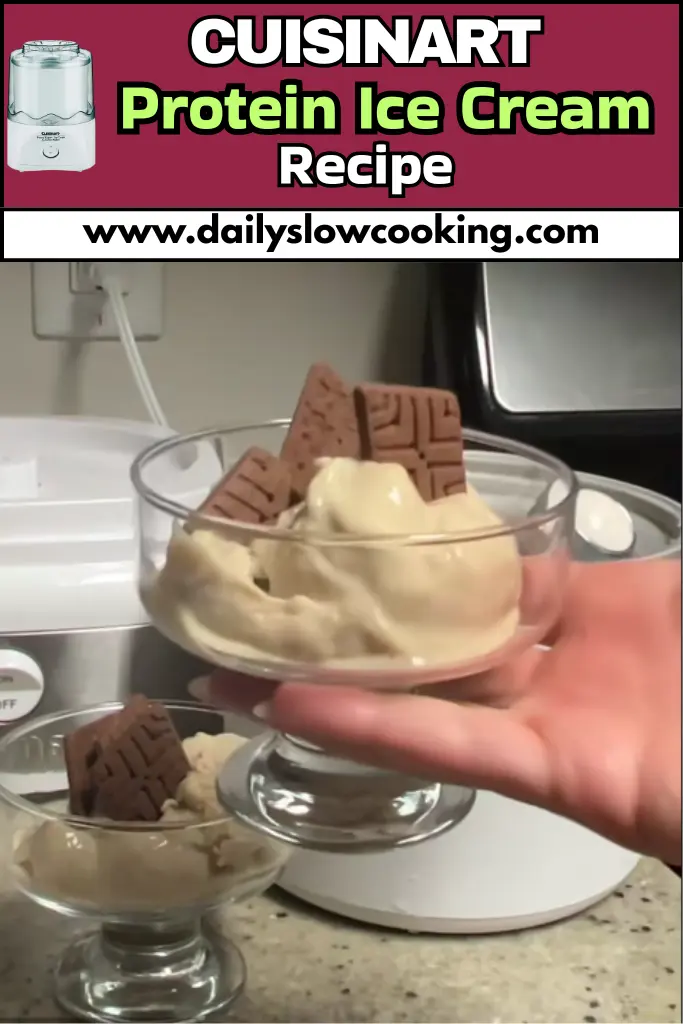
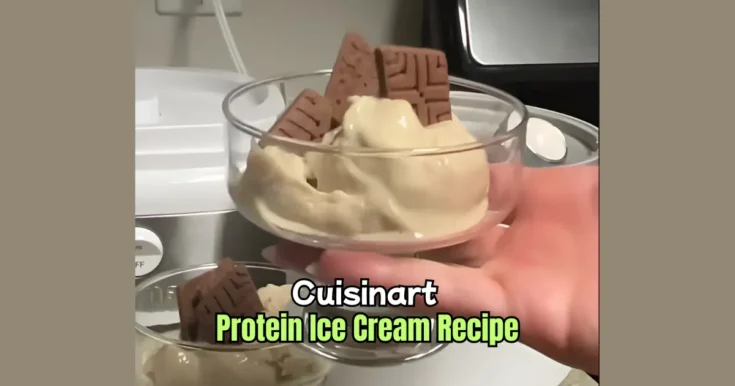
When I first made my Cuisinart Protein Ice Cream, I was surprised how simple it was to mix healthy protein with sweet, creamy ice cream.
If you’re new to protein ice cream, it’s just like regular ice cream but with extra protein to help you stay full and feel good.
With my Cuisinart ice cream maker, making this cold treat is super easy. You just pour in the mix, switch it on, and watch it swirl into a cold, tasty bowl of goodness.
I love using my Cuisinart because I can toss in extras like nuts or chocolate chips without stopping the machine. If you like this recipe, you should check out my Cuisinart chocolate Chips Ice Cream too!
Why You’ll Love This Cuisinart Protein Ice Cream
I can’t get enough of this Cuisinart Protein Ice Cream, and I bet you’ll feel the same! Here’s why it’s so awesome:
- Healthy and Yummy: It’s packed with protein, so it’s good for your body and tastes amazing.
- Super Easy: With my Cuisinart ice cream maker, it comes together fast—no hard steps!
- Fun to Customize: Add your favorite flavors like chocolate or fruit to make it your own.
- Perfect Anytime: Great for a post-workout snack or a cozy night in.
This ice cream is a total win! It’s creamy, satisfying, and feels like a treat without being heavy. The Cuisinart makes it so simple, and you can mix in whatever you love.
Cuisinart Protein Ice Cream Ingredients
Let’s talk about what you need to make this Cuisinart Protein Ice Cream. Each ingredient plays a big role in making it creamy and delicious. Here’s the full scoop:
- Full-Fat Coconut Milk (2 cans, about 13.5 oz each): This gives the ice cream its rich, creamy texture. The fat in coconut milk makes it smooth and scoopable, unlike lighter milks that can turn icy. I use canned, unsweetened coconut milk for the best results. Shake it well before opening to mix the cream and liquid.
- Vanilla Protein Powder (3 scoops, about 90g): This is the star for adding protein! I pick a high-quality whey or plant-based vanilla protein powder because it blends well and tastes great. Make sure you like the flavor of your powder—it’s key to the ice cream’s taste.
- Maple Syrup (1/4 cup): This natural sweetener adds just the right touch of sweetness without being too much. It blends easily and gives a warm, cozy flavor. You can adjust the amount if you like it sweeter or less sweet.
- Vanilla Extract (1 teaspoon): A splash of vanilla makes the flavor pop. It adds a soft, sweet note that pairs perfectly with the protein powder. Use pure vanilla extract, not the fake stuff, for the best taste.
- Pinch of Sea Salt: Just a tiny bit of salt brings out all the flavors. It makes the sweetness stand out and balances everything. Don’t skip this—it’s a small but mighty ingredient!
Helpful Swaps
If you don’t have some ingredients or want to mix things up, here are some swaps that work great:
- Coconut Milk: Swap with whole milk if you’re okay with dairy. It’s creamy and rich. For a lighter option, try unsweetened almond milk, but add a frozen banana to keep it scoopable.
- Maple Syrup: Honey or agave nectar works just as well. If you want no sugar, try a sugar-free sweetener like monk fruit, but start with less since it’s super sweet.
- Vanilla Protein Powder: Chocolate or strawberry protein powder can change the flavor. If you don’t have protein powder, blend in a frozen banana with some Greek yogurt for creaminess.
- Vanilla Extract: If you’re out, skip it if your protein powder is strongly flavored. Or use a pinch of cinnamon for a warm twist.
Kitchen Equipment Needed
To make this Cuisinart Protein Ice Cream, you’ll need a few tools. Don’t worry—they’re simple, and you probably have most of them already:
- Cuisinart Ice Cream Maker: This is the hero of the recipe! It churns the mixture into creamy ice cream. Make sure the freezer bowl is frozen solid before you start (16-24 hours in the freezer).
- Blender: You’ll need this to mix the ingredients into a smooth liquid. A high-speed blender works best, but any blender will do.
- Measuring Cups and Spoons: For getting the amounts just right. I use standard ones for liquids and dry ingredients.
- Spatula: A rubber spatula helps scrape the mixture from the blender and into the ice cream maker.
- Freezer-Safe Container: For storing leftover ice cream. Use an airtight container to keep it fresh.
- Whisk or Spoon: For stirring the mixture if needed before pouring it into the ice cream maker.
How to Make Cuisinart Protein Ice Cream
Making this Cuisinart Protein Ice Cream is so easy, even if you’ve never made ice cream before. I’ll walk you through each step so you can follow along and get that creamy, dreamy dessert. Let’s do this!
Step 1 | Freeze the Cuisinart Bowl
The night before (or at least 16 hours ahead), put the Cuisinart freezer bowl in the back of your freezer. It needs to be super cold—shake it to make sure you don’t hear liquid moving. This is super important for creamy ice cream.
Step 2 | Blend the Ingredients
Grab your blender and pour in the two cans of coconut milk. Give it a quick blend for about 30 seconds to make it smooth. Then add the 3 scoops of vanilla protein powder, 1/4 cup maple syrup, 1 teaspoon vanilla extract, and a pinch of sea salt. Blend everything for 1-2 minutes until it’s super smooth and creamy. Scrape the sides with a spatula if needed to get it all mixed.
Step 3 | Set Up the Ice Cream Maker
Take the frozen bowl out of the freezer and place it on the Cuisinart base. Pop the mixing paddle in the center (circle side up). Put the lid on and turn it clockwise until it locks in place. Don’t wait too long—the bowl starts to defrost fast!
Step 4 | Start Churning
Flip the On/Off switch to “On” to start the machine. The bowl will start turning. Slowly pour your blended mixture through the ingredient spout. Don’t pour it in before turning the machine on, or it might stick!
Step 5 | Churn the Ice Cream
Let the Cuisinart do its magic for about 15-20 minutes. You’ll see the mixture get thicker and look like soft-serve ice cream. If you want it firmer, let it churn a bit longer, but don’t go past 25 minutes or it might strain the machine.
Step 6 | Add Mix-Ins (Optional)
If you want to add stuff like chocolate chips or nuts, pour them through the ingredient spout in the last 2 minutes of churning. About 1/4 cup is perfect for some extra fun.
Step 7 | Check the Texture
When it looks thick and creamy, it’s done! You can scoop it out now for soft-serve or move to the next step for firmer ice cream.
Step 8 | Freeze for Firmer Ice Cream
If you like your ice cream scoopable, use a spatula to transfer it to a freezer-safe airtight container. Pop it in the freezer for 2-3 hours. Don’t leave it in the Cuisinart bowl—it can stick and damage it.
Step 9 | Serve and Enjoy
Let the ice cream sit out for 5-10 minutes before scooping if it’s been in the freezer. Then dig in and enjoy your homemade treat!
Recipe Tips for Success
Here are some quick tips to make your Cuisinart Protein Ice Cream turn out perfect every time:
- Taste the Mixture: Before churning, taste the blended mix and adjust sweetness if needed.
- Don’t Overfill: Keep the mixture to 1.5 quarts or less to avoid spilling in the Cuisinart.
- Freeze Fast: Use the ice cream right after churning or freeze it quickly to avoid icy texture.
- Clean the Bowl: Wash and dry the freezer bowl after use so it’s ready for next time.
- Experiment: Try different protein powder flavors or mix-ins to keep it exciting.
Cuisinart Protein Ice Cream Serving Suggestions
This Cuisinart Protein Ice Cream is so versatile, you’ll want to eat it all the time! Here are some fun ways to serve it:
- In a Bowl: Scoop it into a bowl and top with fresh berries or a drizzle of honey.
- As a Smoothie Bowl: Blend a scoop with some milk and top with granola for a fun twist.
- With Crunch: Sprinkle crushed nuts or chocolate chips for extra texture.
- Post-Workout Treat: Eat a scoop after the gym for a protein-packed recovery snack.
How to Store Cuisinart Protein Ice Cream
Storing your Cuisinart Protein Ice Cream is easy and keeps it fresh for later. After churning, transfer the ice cream to an airtight, freezer-safe container.
Don’t leave it in the Cuisinart bowl—it can stick and get icy. Seal the container tightly to prevent freezer burn. It’ll stay good in the freezer for up to one month.
When you’re ready to eat, let it sit at room temperature for 10-15 minutes to soften for easy scooping. If it’s too hard, you can blend it with a splash of milk to bring back the creamy texture.
I always make a big batch and store it for quick treats during the week—it’s like having a healthy dessert ready whenever I want!
Cuisinart Protein Ice Cream FAQs
1. Can I make this without a Cuisinart ice cream maker?
Yes, you can! Blend the ingredients and pour them into a freezer-safe container. Freeze for 4-6 hours, stirring every 30 minutes for the first 2 hours to keep it creamy. It won’t be as smooth as with the Cuisinart, but it still tastes great. You can also use a blender to mix in a frozen banana for extra creaminess if you don’t have an ice cream maker.
2. What’s the best protein powder to use?
I recommend a vanilla whey or plant-based protein powder you love the taste of. Whey blends super smooth, but vegan powders like pea or soy work too. Just avoid ones with a gritty texture or strong aftertaste. Taste the powder first to make sure it’s yummy, as it’s the main flavor in your ice cream.
3. Can I use low-fat coconut milk?
Low-fat coconut milk can make the ice cream icy and hard to scoop. I suggest sticking with full-fat coconut milk for that creamy texture. If you want a lighter option, try mixing in a frozen banana or use whole milk instead. It’ll still be delicious but might be less rich.
4. How can I make it sweeter?
If you want sweeter ice cream, add an extra tablespoon of maple syrup or your favorite sweetener before blending. Taste the mixture before churning to get it just right. You can also mix in sweet add-ins like chocolate chips or fruit in the last few minutes of churning for extra flavor.
5. Can I add other flavors?
Absolutely! Try chocolate protein powder for a chocolate version or add 1 tablespoon of cocoa powder. You can also mix in fruit like frozen strawberries or bananas during blending for a fruity twist. Just blend well so the flavor spreads evenly, and don’t add too much liquid.
6. Why is my ice cream icy?
If your ice cream is icy, the freezer bowl might not have been cold enough, or you used low-fat milk. Make sure the bowl is frozen solid (no liquid sound when shaken) and use full-fat coconut milk. Stirring during freezing (if not using a Cuisinart) also helps keep it smooth and creamy.
Cuisinart Protein Ice Cream Recipe
Creamy Cuisinart Protein Ice Cream recipe: easy, high-protein treat ready in 20 mins plus chill time. Make rich, delicious ice cream at home!
Ingredients
- Full-Fat Coconut Milk: 2 cans (13.5 oz each)
- Vanilla Protein Powder: 3 scoops (~90g)
- Maple Syrup: 1/4 cup
- Vanilla Extract: 1 teaspoon
- Sea Salt: Pinch
Instructions
Step 1 | Freeze the Cuisinart Bowl
The night before (or at least 16 hours ahead), put the Cuisinart freezer bowl in the back of your freezer. It needs to be super cold—shake it to make sure you don’t hear liquid moving. This is super important for creamy ice cream.
Step 2 | Blend the Ingredients
Grab your blender and pour in the two cans of coconut milk. Give it a quick blend for about 30 seconds to make it smooth. Then add the 3 scoops of vanilla protein powder, 1/4 cup maple syrup, 1 teaspoon vanilla extract, and a pinch of sea salt. Blend everything for 1-2 minutes until it’s super smooth and creamy. Scrape the sides with a spatula if needed to get it all mixed.
Step 3 | Set Up the Ice Cream Maker
Take the frozen bowl out of the freezer and place it on the Cuisinart base. Pop the mixing paddle in the center (circle side up). Put the lid on and turn it clockwise until it locks in place. Don’t wait too long—the bowl starts to defrost fast!
Step 4 | Start Churning
Flip the On/Off switch to “On” to start the machine. The bowl will start turning. Slowly pour your blended mixture through the ingredient spout. Don’t pour it in before turning the machine on, or it might stick!
Step 5 | Churn the Ice Cream
Let the Cuisinart do its magic for about 15-20 minutes. You’ll see the mixture get thicker and look like soft-serve ice cream. If you want it firmer, let it churn a bit longer, but don’t go past 25 minutes or it might strain the machine.
Step 6 | Add Mix-Ins (Optional)
If you want to add stuff like chocolate chips or nuts, pour them through the ingredient spout in the last 2 minutes of churning. About 1/4 cup is perfect for some extra fun.
Step 7 | Check the Texture
When it looks thick and creamy, it’s done! You can scoop it out now for soft-serve or move to the next step for firmer ice cream.
Step 8 | Freeze for Firmer Ice Cream
If you like your ice cream scoopable, use a spatula to transfer it to a freezer-safe airtight container. Pop it in the freezer for 2-3 hours. Don’t leave it in the Cuisinart bowl—it can stick and damage it.
Step 9 | Serve and Enjoy
Let the ice cream sit out for 5-10 minutes before scooping if it’s been in the freezer. Then dig in and enjoy your homemade treat!
Nutrition Information:
Serving Size:
1Amount Per Serving: Calories: 335Total Fat: 26gSodium: 60mgCarbohydrates: 12gFiber: 1gSugar: 8gProtein: 20g
Did you make this Cuisinart Protein Ice Cream Recipe? Please leave a ⭐ rating and review!


Leave a Reply