
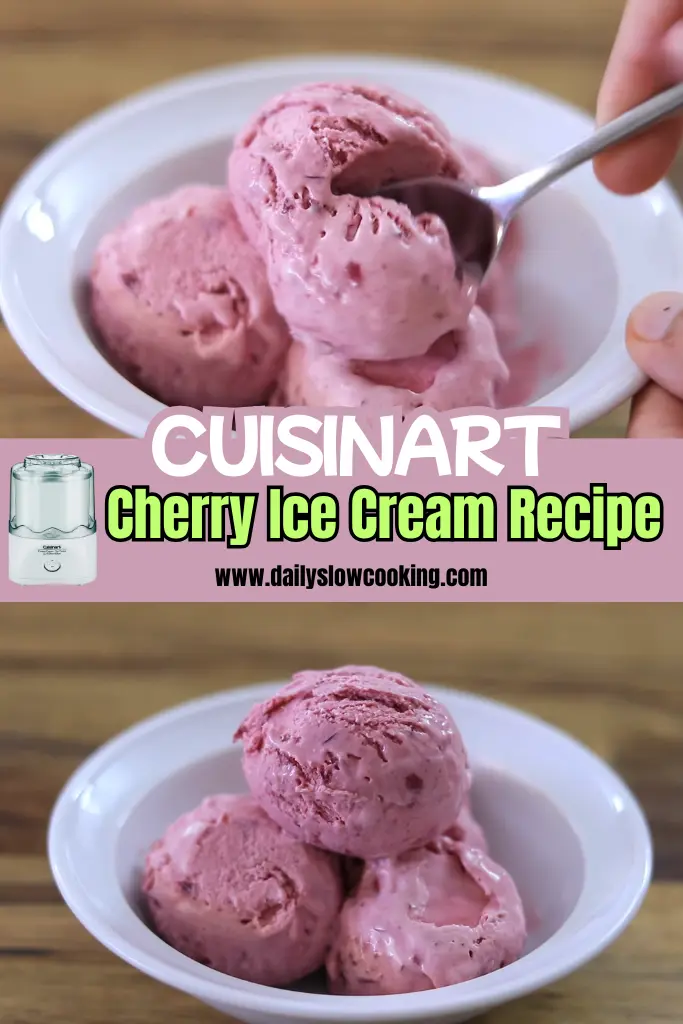
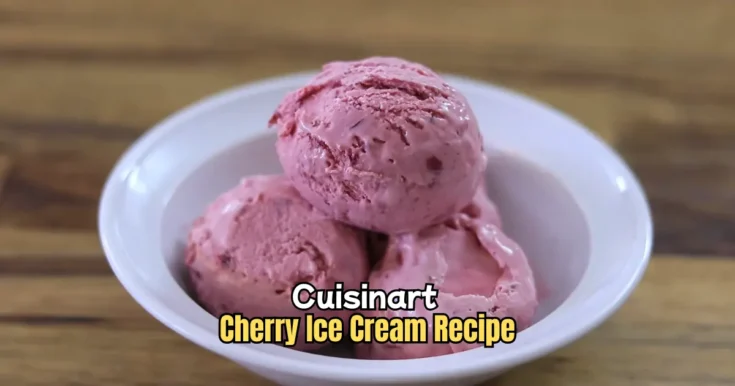
I love making this Cuisinart Cherry Ice Cream Recipe at home because it’s so easy and tastes fresh and sweet every time.
Cherry ice cream is a creamy treat packed with real cherries. When I use my Cuisinart ice cream maker, it saves me time and work.
I just pour in my mix, watch it spin, and wait for cold, smooth ice cream. You’ll love how simple it is. The cherries give a juicy pop in every bite.
If you like this, try my Cuisinart Chocolate Chip Ice Cream too! I promise, once you taste homemade cherry ice cream, you won’t want store-bought again. Let’s get started!
Why You Love This Cuisinart Cherry Ice Cream
This Cuisinart Cherry Ice Cream Recipe is a winner, and here’s why you’ll fall for it:
- Super Creamy: The Cuisinart machine mixes it perfectly for a smooth texture.
- Cherry Bliss: Fresh cherries give a sweet-tart pop in every bite.
- Easy to Make: Simple steps mean anyone can do it, even beginners.
- Fun for All: Kids and adults love this cool, fruity treat.
- Customizable: Add your favorite mix-ins like chocolate chips or nuts.
I’m obsessed with how this ice cream turns out every time. The Cuisinart machine makes it so easy, and the cherry flavor is like summer in a bowl.
Cuisinart Cherry Ice Cream Ingredients
Here’s everything you need to make this delicious Cuisinart Cherry Ice Cream Recipe. Each ingredient plays a big role in making it creamy and flavorful.
- Fresh Cherries (2 cups, pitted and chopped): Fresh cherries are the star! They give a sweet-tart flavor and pretty red flecks. I pit them carefully to avoid any hard bits. Frozen cherries work too, but fresh ones taste brighter.
- Heavy Cream (2 cups): This makes the ice cream rich and creamy. It’s the key to that smooth, melt-in-your-mouth feel. Look for high-quality cream for the best results.
- Whole Milk (1 cup): Milk balances the cream, keeping the ice cream light but still rich. I use whole milk for extra creaminess, but 2% works in a pinch.
- Granulated Sugar (3/4 cup): Sugar sweetens the mix and helps it freeze smoothly. I stir it well to make sure it dissolves completely.
- Vanilla Extract (1 teaspoon): A splash of vanilla adds warmth and rounds out the cherry flavor. Pure vanilla extract is best for a clean taste.
- Salt (1/8 teaspoon): Just a pinch of salt boosts all the flavors. It makes the cherries and cream pop without tasting salty.
- Lemon Juice (1 teaspoon): This adds a tiny zing to brighten the cherries. Freshly squeezed lemon juice works best for a fresh kick.
Helpful Swaps
If you’re missing something, don’t worry! Here are some easy swaps for the Cuisinart Cherry Ice Cream Recipe:
- Cherries: No fresh cherries? Use frozen ones—just thaw and drain them first. Canned cherries work too, but rinse off the syrup.
- Heavy Cream: You can use half-and-half instead, though it’ll be slightly less rich. Avoid using only milk—it won’t be creamy enough.
- Whole Milk: Swap with 2% milk or even almond milk for a lighter version. The texture might change a bit.
- Sugar: Try honey or maple syrup for a different sweetness. Use a bit less, like 2/3 cup, since they’re sweeter than sugar.
- Vanilla Extract: Almond extract is a fun twist for a nutty vibe. Use half the amount, as it’s stronger.
Kitchen Equipment Needed
To make this Cuisinart Cherry Ice Cream Recipe, you’ll need a few tools. Don’t worry—they’re simple, and most are probably in your kitchen already.
- Cuisinart Ice Cream Maker: The star of the show! Its freezer bowl and mixing paddle make creamy ice cream easy. Freeze the bowl for 16-24 hours first.
- Mixing Bowls: You’ll need a big bowl for the ice cream base and a smaller one for cherries.
- Blender or Food Processor: To puree some cherries for that smooth, fruity base.
- Measuring Cups and Spoons: For getting the amounts just right.
- Spatula: To scrape the mixture into the ice cream maker.
- Cherry Pitter: Makes pitting cherries quick and easy. A knife works too, but it’s slower.
- Saucepan: For heating the milk and sugar mixture.
- Whisk: To mix everything smoothly.
- Airtight Container: For storing the finished ice cream in the freezer.
How to Make Cuisinart Cherry Ice Cream
Making this Cuisinart Cherry Ice Cream Recipe is so easy, even if you’re new to ice cream making. Follow these steps, and you’ll have a creamy, cherry-packed treat in no time. I’ll guide you like I’m right there with you!
Step 1 | Freeze the Bowl
Put your Cuisinart freezer bowl in the freezer for 16-24 hours. I keep mine in the back where it’s coldest. Shake it—if you don’t hear liquid sloshing, it’s ready.
Step 2 | Prep the Cherries
Wash and pit 2 cups of fresh cherries. Chop half into small pieces and set aside. Blend the other half with 1 teaspoon of lemon juice until smooth. This puree gives the ice cream its bold cherry flavor.
Step 3 | Make the Base
In a saucepan, warm 1 cup of whole milk and 3/4 cup of sugar over medium heat. Stir until the sugar dissolves completely—about 3-4 minutes. Don’t let it boil! Take it off the heat and let it cool slightly.
Step 4 | Mix It Up
In a large bowl, whisk the warm milk-sugar mix with 2 cups of heavy cream, 1 teaspoon of vanilla extract, and 1/8 teaspoon of salt. Add the cherry puree and stir until it’s all blended. The mix should look pink and smell amazing!
Step 5 | Chill the Mixture
Pop the bowl in the fridge for 1-2 hours to cool completely. This helps the ice cream freeze better and taste smoother.
Step 6 | Set Up the Machine
Take the frozen Cuisinart bowl out of the freezer and place it on the base. Add the mixing paddle and lock the lid on tight.
Step 7 | Churn the Ice Cream
Turn on the Cuisinart machine (hit the On/Off switch). Pour the chilled mixture through the ingredient spout right away. Let it churn for 15-20 minutes until it’s thick and creamy.
Step 8 | Add Chopped Cherries
In the last 5 minutes of churning, pour the chopped cherries through the spout. They’ll mix in for little bursts of fruit in every bite.
Step 9 | Check the Texture
When it looks like soft-serve ice cream, it’s done! If you want it firmer, scoop it into an airtight container and freeze for 2-3 hours.
Recipe Tips for Success
Here are some quick tips to make your Cuisinart Cherry Ice Cream Recipe turn out perfect every time. These are little tricks I’ve learned from making it at home:
- Freeze the bowl properly—check it’s rock-solid before starting.
- Don’t skip chilling the mixture; it makes the texture smoother.
- Taste the cherry puree before mixing—it should be sweet-tart.
- Use fresh cherries for the best flavor, if you can.
- Don’t overfill the Cuisinart bowl—stick to 1.5 quarts or less.
- Work fast once the freezer bowl is out; it defrosts quickly.
- Stir the mix gently to avoid splashing when pouring.
- Clean the machine right after to avoid sticky messes.
Cuisinart Cherry Ice Cream Serving Suggestion
Here’s how to serve your Cuisinart Cherry Ice Cream to make it extra special:
- In a Cone: Scoop into a waffle cone for a classic treat.
- With Toppings: Drizzle with chocolate syrup or sprinkle crushed nuts.
- As a Sundae: Add whipped cream and a cherry on top.
- With Dessert: Pair with warm brownies for a yummy contrast.
- In a Bowl: Serve in chilled bowls to keep it creamy longer.
How to Store Cuisinart Cherry Ice Cream
Storing your Cuisinart Cherry Ice Cream is easy and keeps it tasty for later. After churning, scoop the ice cream into an airtight container.
Don’t leave it in the freezer bowl—it’ll stick and could damage it. Seal the container tightly to prevent freezer burn.
Store it in the back of your freezer at 0°F for the best results. It’ll stay good for about 2 weeks, but I bet you’ll eat it sooner!
When you’re ready to enjoy, let it sit at room temperature for 5 minutes to soften for easy scooping. Freezing it properly keeps the creamy texture and cherry flavor perfect every time.
Cuisinart Cherry Ice Cream Recipe FAQs
Here are answers to common questions about the Cuisinart Cherry Ice Cream Recipe. I’ve got you covered with all the details!
1. Can I use frozen cherries instead of fresh ones?
Yes, frozen cherries work great! Thaw them first and drain any extra liquid to avoid watery ice cream. Chop half and blend the other half with lemon juice, just like fresh cherries. The flavor is still amazing, though fresh cherries give a slightly brighter taste. Make sure to check for pits, even in frozen ones, to keep your ice cream smooth and safe.
2. How long does the freezer bowl need to freeze?
The Cuisinart freezer bowl needs 16-24 hours in the freezer at 0°F. I put mine in the back where it’s coldest. Shake it to check—if you don’t hear liquid moving, it’s ready. Keep it frozen all the time for quick ice cream making. Use it right away, as it defrosts fast!
3. Can I make this without a Cuisinart ice cream maker?
You can, but it’s trickier. Mix the ingredients and pour into a shallow dish. Freeze it, stirring every 30 minutes for 2-3 hours to break up ice crystals. It won’t be as creamy as with the Cuisinart, but it still tastes good. The machine makes it faster and smoother, so I recommend it!
4. Why is my ice cream too soft after churning?
If your ice cream is too soft, the freezer bowl might not be cold enough, or the mixture wasn’t chilled before churning. Make sure the bowl is frozen solid (16-24 hours) and the mixture is cold from the fridge. You can also freeze the finished ice cream for 2-3 hours for a firmer texture.
5. Can I add other fruits to this recipe?
Absolutely! You can mix in chopped strawberries or blueberries with the cherries for extra flavor. Blend them into the puree or add as chunks during the last 5 minutes of churning. Keep the total fruit at 2 cups to avoid overwhelming the base. It’s a fun way to customize your ice cream!
6. How do I clean the Cuisinart ice cream maker?
After churning, turn off the machine and remove the freezer bowl. Wash the bowl, paddle, and lid with warm, soapy water right away to avoid sticky residue. Dry everything completely before storing. Don’t put the freezer bowl in the dishwasher—it could damage the cooling liquid inside. Keep it simple and quick!
Cuisinart Cherry Ice Cream Recipe
Enjoy homemade Cuisinart Cherry Ice Cream in just 40 active minutes! This easy cherry ice cream recipe is creamy, fruity, and perfect for summer.
Ingredients
- Fresh Cherries: 2 cups, pitted and chopped (divided)
- Heavy Cream: 2 cups
- Whole Milk: 1 cup
- Granulated Sugar: 3/4 cup
- Vanilla Extract: 1 teaspoon
- Salt: 1/8 teaspoon
- Lemon Juice: 1 teaspoon
Instructions
Step 1 | Freeze the Bowl
Put your Cuisinart freezer bowl in the freezer for 16-24 hours. I keep mine in the back where it’s coldest. Shake it—if you don’t hear liquid sloshing, it’s ready.
Step 2 | Prep the Cherries
Wash and pit 2 cups of fresh cherries. Chop half into small pieces and set aside. Blend the other half with 1 teaspoon of lemon juice until smooth. This puree gives the ice cream its bold cherry flavor.
Step 3 | Make the Base
In a saucepan, warm 1 cup of whole milk and 3/4 cup of sugar over medium heat. Stir until the sugar dissolves completely—about 3-4 minutes. Don’t let it boil! Take it off the heat and let it cool slightly.
Step 4 | Mix It Up
In a large bowl, whisk the warm milk-sugar mix with 2 cups of heavy cream, 1 teaspoon of vanilla extract, and 1/8 teaspoon of salt. Add the cherry puree and stir until it’s all blended. The mix should look pink and smell amazing!
Step 5 | Chill the Mixture
Pop the bowl in the fridge for 1-2 hours to cool completely. This helps the ice cream freeze better and taste smoother.
Step 6 | Set Up the Machine
Take the frozen Cuisinart bowl out of the freezer and place it on the base. Add the mixing paddle and lock the lid on tight.
Step 7 | Churn the Ice Cream
Turn on the Cuisinart machine (hit the On/Off switch). Pour the chilled mixture through the ingredient spout right away. Let it churn for 15-20 minutes until it’s thick and creamy.
Step 8 | Add Chopped Cherries
In the last 5 minutes of churning, pour the chopped cherries through the spout. They’ll mix in for little bursts of fruit in every bite.
Step 9 | Check the Texture
When it looks like soft-serve ice cream, it’s done! If you want it firmer, scoop it into an airtight container and freeze for 2-3 hours.
Nutrition Information:
Serving Size:
1Amount Per Serving: Calories: 340Total Fat: 24gSaturated Fat: 15gCholesterol: 90mgSodium: 40mgFiber: 1gSugar: 26gProtein: 3g
Did you make this Cuisinart Cherry Ice Cream Recipe? Please leave a ⭐ rating and review!


Leave a Reply