
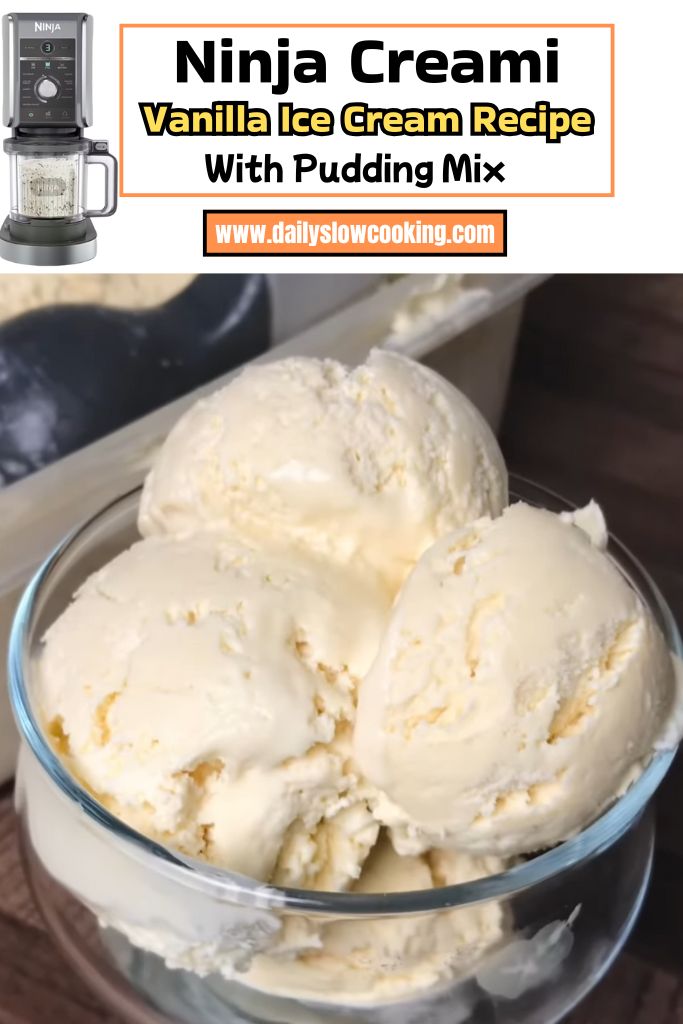
Ever wanted a smooth, creamy vanilla ice cream you can make easily at home? Let me share my favorite Ninja Creami Vanilla Ice Cream Recipe With Pudding Mix.
This is one of the easiest ways to make homemade vanilla ice cream. If you’ve got a Ninja Creami, you’re already halfway there.
The secret here is using pudding mix—it gives the ice cream a rich and creamy texture without needing eggs or complicated cooking steps. I love how this recipe turns out every time—sweet, smooth, and full of flavor.
If you liked my Ninja Creami Vanilla Ice Cream Recipe With Pudding Mix, you’ll enjoy this one too. Let me show you how simple it is to whip up a sweet bowl of vanilla goodness right in your kitchen.
Why You’ll Love This Ninja Creami Vanilla Ice Cream Recipe With Pudding Mix
This recipe is a total winner, and I can’t wait for you to try it! Here’s why it’s so awesome:
- Super Easy: No fancy skills needed—just mix, freeze, and spin!
- Creamy Goodness: The pudding mix makes it smooth and rich every time.
- Quick Prep: You can whip up the base in minutes.
- Customizable: Add your favorite toppings like sprinkles or fruit.
- Kid-Friendly: My kids go wild for this sweet treat!
I love how simple this Ninja Creami Vanilla Ice Cream Recipe With Pudding Mix is to make. The pudding mix is my secret weapon—it adds flavor and keeps the texture silky without any extra fuss.
Ninja Creami Vanilla Ice Cream Recipe With Pudding Mix Ingredients
Let’s talk about what you’ll need to make this delicious ice cream. Each ingredient plays a big role in making it creamy and flavorful. Here’s the full breakdown:
- Whole Milk (1 ½ cups): This gives the ice cream a rich, creamy base. I use whole milk because it has just the right amount of fat to make the texture smooth without being too heavy. It’s the foundation that holds everything together.
- Heavy Whipping Cream (½ cup): This adds that extra creaminess that makes every bite feel indulgent. The high fat content helps create a velvety texture, so don’t skip it!
- Instant Vanilla Pudding Mix (4 tablespoons, about half a 3.4-oz box): This is the star of the show! The pudding mix brings a bold vanilla flavor and acts like a stabilizer to keep the ice cream super smooth. I use Jell-O brand, but any instant vanilla pudding mix works. Just make sure it’s instant, not the cook-and-serve kind.
- Granulated Sugar (2 tablespoons): A little sugar boosts the sweetness without overpowering the vanilla. It dissolves easily and helps balance the flavors.
- Vanilla Extract (1 teaspoon): This adds a deeper, richer vanilla taste. I always go for pure vanilla extract because it gives a more natural flavor than imitation versions.
Helpful Swaps
If you’re missing an ingredient or want to tweak this recipe, no worries! Here are some easy swaps that still keep your ice cream tasty:
- Milk: Swap whole milk for 2% milk or Fairlife reduced-fat milk for a lighter option. The texture might be slightly less creamy, but it’s still delicious.
- Heavy Cream: Try half-and-half instead of heavy cream if you want to cut back on fat. It won’t be as rich, but it works in a pinch.
- Pudding Mix: Use sugar-free vanilla pudding mix for a lower-sugar version. You can also try white chocolate or cheesecake pudding mix for a fun twist.
- Sugar: Replace granulated sugar with honey or maple syrup for a natural sweetener. Use the same amount and mix well.
- Vanilla Extract: If you’re out, vanilla bean paste works great for a fancier flavor. Use the same amount.
Kitchen Equipment Needed
To make this Ninja Creami Vanilla Ice Cream Recipe With Pudding Mix, you’ll need just a few tools. Don’t worry—they’re all easy to find in most kitchens:
- Ninja Creami Ice Cream Maker: This is the magic machine that turns your frozen base into creamy ice cream. It comes with a pint container and a Creamerizer Paddle.
- Ninja Creami Pint Container: This is where you’ll mix and freeze your ice cream base. It’s designed to fit perfectly in the Ninja Creami.
- Whisk or Milk Frother: A whisk works great to mix the ingredients smoothly. I love using a handheld milk frother—it’s quick and gets rid of any lumps.
- Measuring Cups and Spoons: You’ll need these to measure out the milk, cream, sugar, pudding mix, and vanilla extract accurately.
- Spoon or Spatula: Use this to smooth out the ice cream after spinning or before refreezing.
- Freezer: A standard freezer (set to 0°F) is needed to freeze the mixture for 24 hours before spinning.
How To Make Ninja Creami Vanilla Ice Cream Recipe With Pudding Mix
Making this ice cream is so easy, even if you’ve never used a Ninja Creami before. I’ll walk you through each step like I’m right there with you in the kitchen. Let’s get started!
Step 1 | Mix the Base
Grab your Ninja Creami pint container. Pour in 1 ½ cups of whole milk and ½ cup of heavy whipping cream. Add 4 tablespoons of instant vanilla pudding mix, 2 tablespoons of granulated sugar, and 1 teaspoon of vanilla extract. Use a whisk or milk frother to mix everything until it’s smooth. Make sure there are no lumps—the pudding mix should fully dissolve. This takes about a minute. Don’t fill past the “MAX FILL” line on the pint container.
Step 2 | Freeze the Mixture
Snap the lid onto the pint container. Place it on a flat surface in your freezer. Let it freeze for at least 24 hours. This step is super important because the Ninja Creami needs the base to be completely frozen to work its magic. I set my freezer to 0°F for the best results.
Step 3 | Set Up the Ninja Creami
After 24 hours, take the pint out of the freezer and remove the lid. If there’s a small bump on top, gently scrape it flat with a spoon. Plug in your Ninja Creami and place it on a flat countertop. Put the pint into the outer bowl. Attach the Creamerizer Paddle to the outer bowl lid by pressing the latch until it clicks. Line up the lid’s tab with the outer bowl handle, then twist clockwise to lock it.
Step 4 | Spin the Ice Cream
Place the outer bowl onto the Ninja Creami motor base. Twist the handle to the right until it clicks—this locks the bowl in place. Turn on the machine by pressing the power button. The “Ice Cream” button should light up. Press it to start the 1-2 minute cycle. You’ll see the progress bar light up as it works.
Step 5 | Check the Texture
When the cycle finishes, hold the bowl release button and twist the handle back to the center to lower the bowl. Lift it out and unlock the lid by pressing the lid unlock button and twisting counterclockwise. Check your ice cream. If it looks powdery or crumbly, don’t worry—that’s normal for the first spin if the base is super cold.
Step 6 | Re-Spin if Needed
If the ice cream isn’t creamy yet, add 1-2 tablespoons of milk to the pint. Make a small well in the center and pour the milk in. Put the pint back in the outer bowl, lock the lid, and place it on the machine. Press the “Re-Spin” button. This usually makes it super smooth and scoopable.
Step 7 | Add Mix-Ins (Optional)
Want to jazz it up? Dig a small hole in the center of the ice cream and add mix-ins like chocolate chips, sprinkles, or crushed cookies (about ¼ cup). Put the pint back in the outer bowl, lock the lid, and press the “Mix-In” button to blend them in.
Step 8 | Serve and Enjoy
Scoop the ice cream into bowls or cones. It’s ready to eat right away! If you have leftovers, smooth the top with a spoon, pop the lid back on, and store it in the freezer.
Recipe Tips for Success
Here are some quick tips to make your Ninja Creami Vanilla Ice Cream Recipe With Pudding Mix perfect every time:
- Check Freezer Temp: Set your freezer to 0°F or lower to ensure the base freezes solid.
- Don’t Overfill: Stay below the “MAX FILL” line to avoid a mess when spinning.
- Smooth the Top: Before refreezing leftovers, flatten the surface for easier re-spinning.
- Use Cold Mix-Ins: Chill mix-ins like chocolate chips in the fridge so they don’t melt the ice cream.
- Clean the Paddle: Rinse the Creamerizer Paddle right after use to avoid sticky buildup.
- Let It Sit: If the ice cream is too hard after freezing, let it sit for 5-10 minutes before spinning.
Ninja Creami Vanilla Ice Cream Recipe With Pudding Mix Serving Suggestions
This ice cream is so versatile, you’ll want to serve it in all sorts of fun ways! Here are some ideas:
- Classic Cone: Scoop it into a waffle cone for a nostalgic treat.
- Sundae Style: Top with whipped cream, chocolate sauce, and a cherry.
- Fruit Fiesta: Add fresh strawberries or bananas for a refreshing twist.
- Cookie Sandwich: Sandwich a scoop between two chocolate chip cookies.
- Brownie Buddy: Serve over a warm brownie for a gooey dessert.
How to Store Ninja Creami Vanilla Ice Cream Recipe With Pudding Mix
Storing this ice cream is super easy! After spinning, if you have leftovers, use a spoon to smooth the top of the ice cream in the Ninja Creami pint.
Pop the lid on and place it back in the freezer on a flat surface. It’ll stay good for up to a month. When you’re ready to eat it again, just run it through the “Ice Cream” or “Lite Ice Cream” setting for one or two spins to get that creamy texture back.
If it’s too hard, let it sit at room temperature for 5-10 minutes before spinning. Always store it in the pint container to keep it fresh and ready for the Ninja Creami!
Ninja Creami Vanilla Ice Cream Recipe With Pudding Mix FAQs
1. Can I use sugar-free pudding mix for this recipe?
Yes, you can! Sugar-free vanilla pudding mix works just as well as regular. It keeps the ice cream creamy and adds the same great vanilla flavor. Just use the same amount (4 tablespoons) and follow the recipe as written. If you’re watching sugar, this is a great swap, and it still tastes amazing. You might notice a slight difference in sweetness, so taste the base before freezing if you want to adjust with a bit more sugar or sweetener.
2. Can I make this without heavy cream?
Totally! You can swap heavy cream for half-and-half or even more whole milk. The ice cream might be a bit less rich, but it’ll still be creamy and delicious. Try 1 cup whole milk and 1 cup half-and-half to replace the milk and cream combo. Just make sure to mix well and freeze for 24 hours. The pudding mix helps keep the texture smooth, so you won’t miss out too much
3. Why is my ice cream powdery after the first spin?
This happens when the base is super cold, which is normal! Just add 1-2 tablespoons of milk, make a small well in the center, and run the “Re-Spin” cycle. This usually fixes the powdery texture and makes it creamy. If it’s still not smooth, try another re-spin. Also, make sure your freezer is set to 0°F or lower for the best results.
4. Can I add mix-ins to this recipe?
Yes, mix-ins are so fun! After the first spin (or re-spin), dig a small hole in the center of the ice cream and add about ¼ cup of mix-ins like chocolate chips, sprinkles, or crushed cookies. Lock the lid back on and press the “Mix-In” button. Chill your mix-ins in the fridge first so they don’t melt the ice cream. Oreos and fruit chunks are my favorites
5. How long does the Ninja Creami take to spin?
The “Ice Cream” setting takes about 1-2 minutes to complete. If you need a re-spin, that’s another 1-2 minutes. The “Mix-In” cycle is quick, too, about 1 minute. So, from start to finish, you’re looking at less than 5 minutes of spinning time. The longest part is waiting for the base to freeze for 24 hours, but it’s worth it
6. Can I use plant-based milk for this recipe?
Yes, you can use plant-based milk like almond, oat, or soy milk. Soy milk is my pick for creaminess. The ice cream might be a bit less rich, so stick with the heavy cream or use a plant-based cream for best results. Use the “Lite Ice Cream” setting if you go fully dairy-free to get the smoothest texture.
Ninja Creami Vanilla Ice Cream Recipe With Pudding Mix
Creamy Ninja Creami vanilla ice cream with pudding mix, ready in just 24 hours. Easy 5-min prep, ultra-smooth results—perfect for summer treats!
Ingredients
- Whole Milk – 1 ½ cups
- Heavy Whipping Cream – ½ cup
- Instant Vanilla Pudding Mix – 4 tablespoons (about half a 3.4-oz box)
- Granulated Sugar – 2 tablespoons
- Vanilla Extract – 1 teaspoon
Instructions
Step 1 | Mix the Base
Grab your Ninja Creami pint container. Pour in 1 ½ cups of whole milk and ½ cup of heavy whipping cream. Add 4 tablespoons of instant vanilla pudding mix, 2 tablespoons of granulated sugar, and 1 teaspoon of vanilla extract. Use a whisk or milk frother to mix everything until it’s smooth. Make sure there are no lumps—the pudding mix should fully dissolve. This takes about a minute. Don’t fill past the “MAX FILL” line on the pint container.
Step 2 | Freeze the Mixture
Snap the lid onto the pint container. Place it on a flat surface in your freezer. Let it freeze for at least 24 hours. This step is super important because the Ninja Creami needs the base to be completely frozen to work its magic. I set my freezer to 0°F for the best results.
Step 3 | Set Up the Ninja Creami
After 24 hours, take the pint out of the freezer and remove the lid. If there’s a small bump on top, gently scrape it flat with a spoon. Plug in your Ninja Creami and place it on a flat countertop. Put the pint into the outer bowl. Attach the Creamerizer Paddle to the outer bowl lid by pressing the latch until it clicks. Line up the lid’s tab with the outer bowl handle, then twist clockwise to lock it.
Step 4 | Spin the Ice Cream
Place the outer bowl onto the Ninja Creami motor base. Twist the handle to the right until it clicks—this locks the bowl in place. Turn on the machine by pressing the power button. The “Ice Cream” button should light up. Press it to start the 1-2 minute cycle. You’ll see the progress bar light up as it works.
Step 5 | Check the Texture
When the cycle finishes, hold the bowl release button and twist the handle back to the center to lower the bowl. Lift it out and unlock the lid by pressing the lid unlock button and twisting counterclockwise. Check your ice cream. If it looks powdery or crumbly, don’t worry—that’s normal for the first spin if the base is super cold.
Step 6 | Re-Spin if Needed
If the ice cream isn’t creamy yet, add 1-2 tablespoons of milk to the pint. Make a small well in the center and pour the milk in. Put the pint back in the outer bowl, lock the lid, and place it on the machine. Press the “Re-Spin” button. This usually makes it super smooth and scoopable.
Step 7 | Add Mix-Ins (Optional)
Want to jazz it up? Dig a small hole in the center of the ice cream and add mix-ins like chocolate chips, sprinkles, or crushed cookies (about ¼ cup). Put the pint back in the outer bowl, lock the lid, and press the “Mix-In” button to blend them in.
Step 8 | Serve and Enjoy
Scoop the ice cream into bowls or cones. It’s ready to eat right away! If you have leftovers, smooth the top with a spoon, pop the lid back on, and store it in the freezer.
Nutrition Information:
Serving Size:
1Amount Per Serving: Calories: 210Total Fat: 13gSaturated Fat: 8gCholesterol: 50mgSodium: 105mgSugar: 17gProtein: 4g
Did you make this Ninja Creami Vanilla Ice Cream Recipe With Pudding Mix? Please leave a ⭐ rating and review!


Leave a Reply