
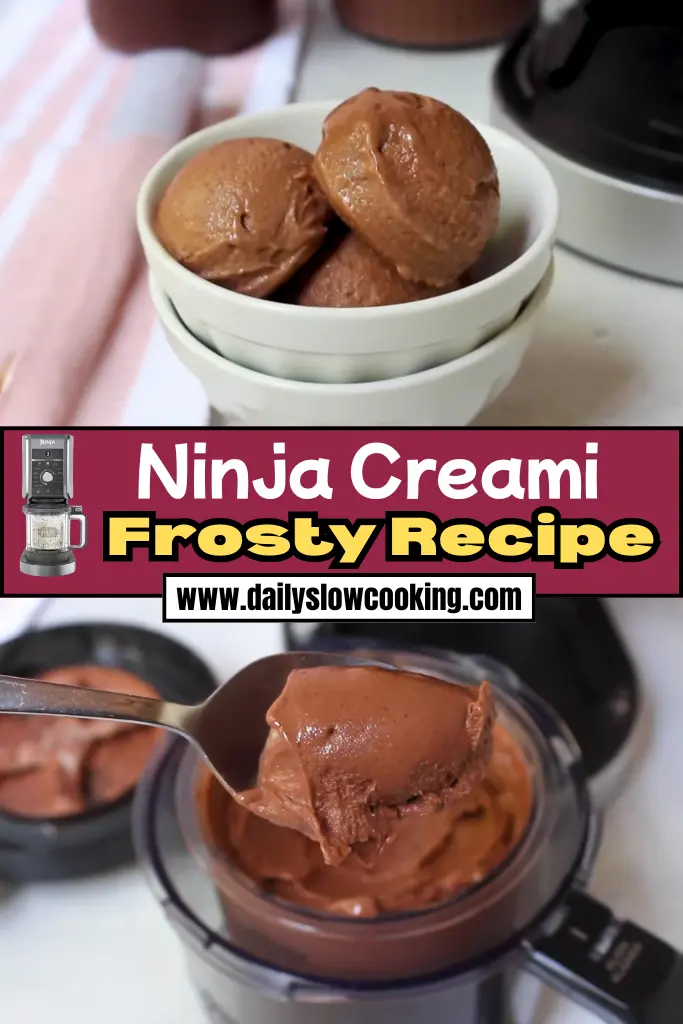
Ever wish you could make your own frosty treat at home without all the mess and stress? Let me tell you about my favorite go-to dessert – the Ninja Creami Frosty Recipe.
It’s creamy, cold, and tastes just like that famous fast food version we all know and love. The best part? It’s super easy to make using the Ninja Creami machine. No fancy skills needed.
If you’re like me and want something cold, sweet, and quick, you’re going to love this. Just mix, freeze, and let the Ninja Creami do the hard part. I’ll guide you every step of the way.
Want to try something different too? Check out my Ninja Creami Pina Colada Recipe after this one.
Why You’ll Love This Ninja Creami Frosty
Let me tell you why this Ninja Creami Frosty Recipe is going to be your new favorite dessert:
- Super Simple: You only need two ingredients, so it’s perfect for beginners.
- Tastes Like Wendy’s: It’s creamy, chocolatey, and just the right amount of sweet.
- Quick to Make: After freezing, it takes just a few minutes in the Ninja Creami.
- Customizable: Add your favorite toppings or mix-ins to make it your own.
This frosty is a total win. It’s so easy to whip up, and the Ninja Creami makes it smooth and creamy every time.
Ninja Creami Frosty Ingredients
Here’s what you need to make this Ninja Creami Frosty Recipe. I’ll break down each ingredient so you know exactly why it’s important and how it makes your frosty amazing.
- Chocolate Milk (2 cups): This is the star of the show! Chocolate milk gives the frosty its rich, chocolatey flavor. I use Fairlife 2% chocolate milk because it’s creamy, has a great taste, and adds a bit of protein. You can use whole chocolate milk or low-fat, but avoid reduced-sugar versions—they won’t give you the right texture in the Ninja Creami. Pick a brand you love to drink on its own for the best flavor.
- Instant Chocolate Pudding Mix (1 tablespoon): This is the secret to getting that thick, creamy texture. The pudding mix acts like a stabilizer, making your frosty smooth and scoopable. I use regular instant chocolate pudding mix, but sugar-free works too if you want less sugar. Just make sure it’s instant, not the kind you cook, so it blends easily.

Helpful Swaps
If you’re missing an ingredient or want to tweak this Ninja Creami Frosty Recipe, here are some swaps that work:
- Chocolate Milk Alternatives: If you don’t have chocolate milk, you can use regular milk (whole or 2%) and add 1 tablespoon of cocoa powder plus 1 teaspoon of sugar. Almond milk or oat milk can work for a dairy-free version, but the texture might be slightly less creamy.
- Pudding Mix Options: No chocolate pudding mix? Try vanilla instant pudding mix with an extra teaspoon of cocoa powder. It’ll still thicken up nicely.
- Sweetness Adjustments: If you want a less sweet frosty, use sugar-free pudding mix or cut the pudding mix to ½ tablespoon. Taste the mix before freezing to adjust.
Kitchen Equipment Needed
To make this Ninja Creami Frosty Recipe, you’ll need just a few tools. Don’t worry, they’re all easy to find in most kitchens:
- Ninja Creami Machine: This is the magic maker! It turns your frozen mix into a creamy frosty. Make sure you have the pint container and Creamerizer Paddle that come with it.
- Mixing Bowl: A medium-sized bowl to whisk your ingredients together. I use a 4-cup Pyrex measuring cup because it’s easy to pour from.
- Whisk or Spoon: For mixing the chocolate milk and pudding mix. A small whisk works best to get everything smooth.
- Freezer: You’ll need space to freeze the Ninja Creami pint for 24 hours.
- Spoon or Spatula: To scoop and serve your frosty.
How to Make Ninja Creami Frosty
Alright, let’s get to the fun part—making your Ninja Creami Frosty Recipe! I’m going to walk you through each step like I’m right there in your kitchen. It’s super easy, even if you’ve never used a Ninja Creami before. Here’s what you do:
Step 1 | Mix the Ingredients
Grab a medium mixing bowl or a large measuring cup. Pour in 2 cups of chocolate milk. Add 1 tablespoon of instant chocolate pudding mix. Use a whisk or spoon to stir everything together until the pudding mix is completely dissolved. This takes about 1-2 minutes. You want it smooth with no lumps. Don’t go over the MAX FILL line on the Ninja Creami pint container when you pour it in later.
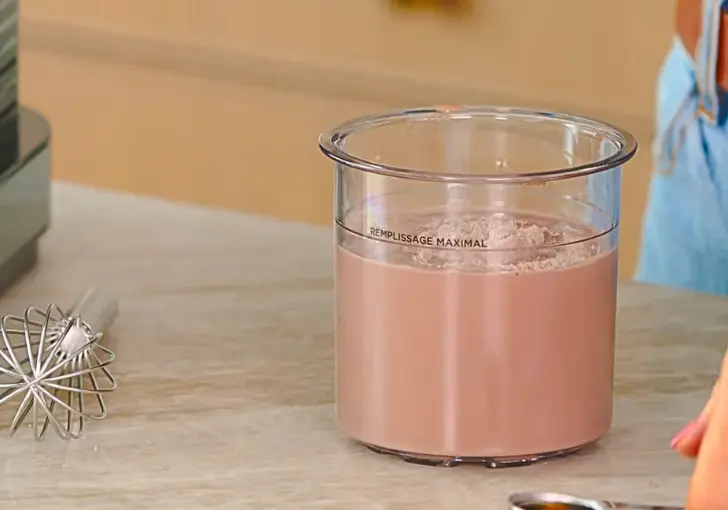
Step 2 | Pour into the Pint
Carefully pour your chocolate milk mixture into the Ninja Creami pint container. Make sure you stop at the MAX FILL line. Snap the lid on tight to seal it.
Step 3 | Freeze It
Pop the pint into your freezer and let it freeze for at least 24 hours. I know waiting is tough, but this step is key to getting that creamy texture. I usually make a couple of pints at once so I always have one ready.
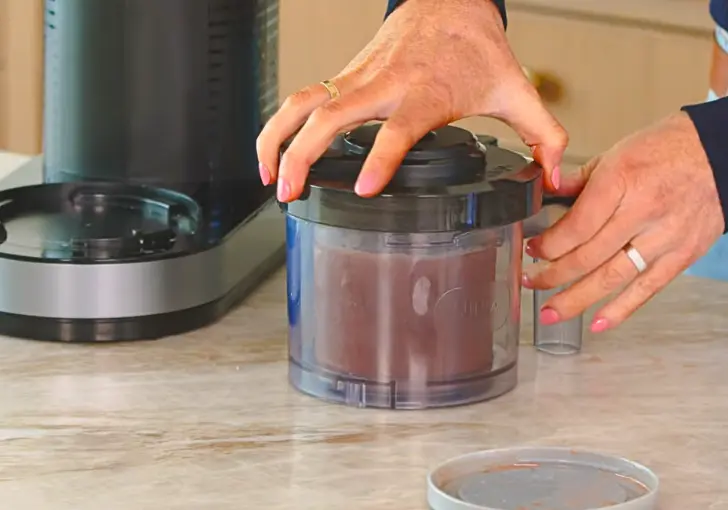
Step 4 | Set Up the Ninja Creami
After 24 hours, take the pint out of the freezer. Remove the lid and place the pint in the outer bowl. Grab the Creamerizer Paddle and press it into the outer bowl lid until it clicks. Line up the lid’s tab with the outer bowl handle, then twist clockwise to lock it in place.
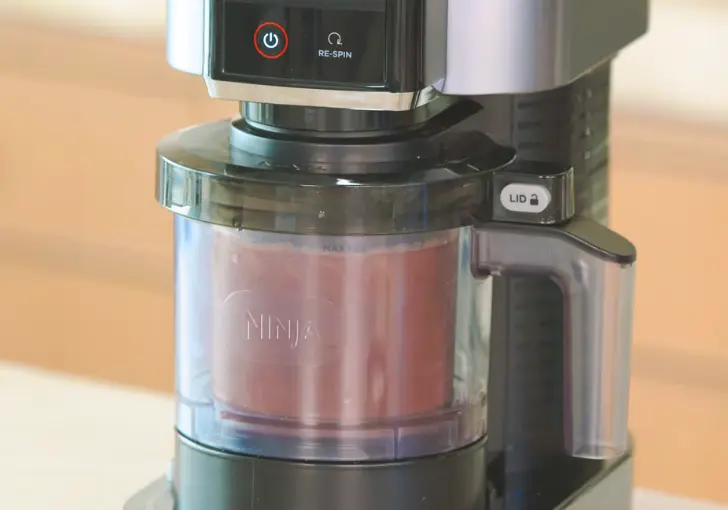
Step 5 | Spin It
Plug in your Ninja Creami and press the power button. Place the outer bowl on the machine, twist the handle to the right to lock it, and you’ll hear a click. Select the “Lite Ice Cream” setting since this recipe is low in fat and sugar. The machine will run for about 2 minutes. You’ll see the progress bar light up as it works.
Step 6 | Check the Texture
When the machine stops, press the bowl release button and twist the handle back to remove the outer bowl. Unlock the lid by pressing the button and twisting counterclockwise. Check your frosty. If it’s smooth and creamy, you’re good to go! If it’s a bit crumbly, don’t worry—move to the next step.
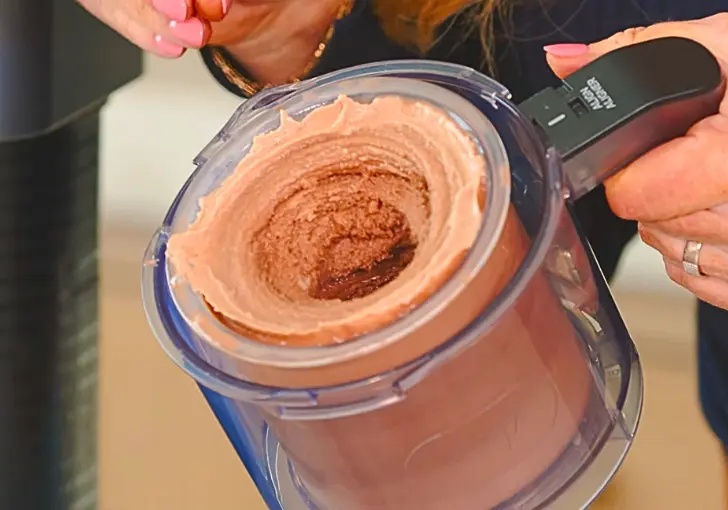
Step 7 | Re-Spin if Needed
If your frosty is powdery or crumbly, add 1-2 tablespoons of chocolate milk to the pint. Put the lid back on, lock the bowl in place, and press “Re-Spin.” This usually makes it super creamy. You might need to re-spin twice if it’s still not perfect.
Step 8 | Serve It Up
Once it’s creamy, lift the pint out of the outer bowl. Grab a spoon or straw and dig in! You can pour it into glasses for that classic frosty vibe or scoop it into bowls.
Recipe Tips for Success
Here are some quick tips to make your Ninja Creami Frosty Recipe turn out perfect every time. These are little tricks I’ve learned from making it over and over:
- Freeze Flat: Make sure the pint is level in the freezer so the mixture freezes evenly.
- Check Your Milk: Use cold chocolate milk straight from the fridge for easier mixing.
- Don’t Overfill: Stick to the MAX FILL line to avoid a mess in the Ninja Creami.
- Clean the Paddle: Rinse the Creamerizer Paddle right after spinning to avoid sticky buildup.
- Taste Before Freezing: Sip the mix to make sure it’s sweet enough for you.
- Plan Ahead: Freeze multiple pints so you’re always ready for a frosty craving.
Ninja Creami Frosty Serving Suggestions
Here’s how to make your Ninja Creami Frosty even more fun to eat:
- Classic Style: Serve it in a tall glass with a wide straw, just like at Wendy’s.
- Top It Off: Add whipped cream and a sprinkle of chocolate chips for extra indulgence.
- Mix-Ins: Stir in crushed cookies, mini marshmallows, or peanut butter for a twist.
- Pair It Up: Enjoy it with fries for that iconic Wendy’s combo—sweet and salty heaven!
How to Store Ninja Creami Frosty
If you don’t finish your Ninja Creami Frosty, don’t worry—it’s easy to store. After serving, smooth out the top of the frosty in the pint with a spoon or spatula.
Pop the lid back on and stick it in the freezer. It’ll stay good for about a month. When you’re ready to eat it again, let it sit at room temperature for 5-10 minutes to soften.
If it’s too hard, pop it back in the Ninja Creami and use the “Re-Spin” setting to make it creamy again.
I’ve found that flattening the top before freezing helps it stay smooth for the next spin. This way, you can enjoy your frosty whenever the craving hits
Ninja Creami Frosty Recipe FAQs
1. Can I use regular milk instead of chocolate milk?
Yes, you can, but you’ll need to add flavor. Mix 2 cups of whole or 2% milk with 1 tablespoon of cocoa powder and 1-2 teaspoons of sugar. Whisk it well to blend the cocoa. This won’t be as rich as chocolate milk, so taste it before freezing to make sure it’s sweet enough. The texture should still be creamy if you use instant pudding mix.
2. Why is my frosty crumbly after the first spin?
A crumbly texture usually means the mixture is too cold or needs more liquid. Run the “Re-Spin” cycle with 1-2 tablespoons of chocolate milk added. This usually fixes it. Make sure your freezer isn’t set too low, as super-cold bases can get too hard.
3. Can I add mix-ins to the frosty?
Yes, mix-ins are awesome! After the first spin, make a well in the center and add things like crushed cookies, chocolate chips, or peanut butter. Use the “Mix-In” setting on the Ninja Creami to blend them in. Freeze your mix-ins first so they don’t melt the frosty.
4. How long does it take to freeze the mixture?
The Ninja Creami manual says to freeze for at least 24 hours for the best results. I’ve tried rushing it with 8 hours, but it wasn’t solid enough, and the texture was off. Plan ahead and give it the full 24 hours to get that perfect creamy frosty.
5. Can I use sugar-free pudding mix?
Yes, sugar-free instant chocolate pudding mix works great. It keeps the frosty lower in sugar while still giving that thick, creamy texture. Pair it with regular chocolate milk for the best balance, as sugar-free milk might make it too thin. Taste the mix before freezing to adjust sweetness.
Ninja Creami Frosty Recipe
Quick and creamy Ninja Creami Frosty recipe made with chocolate milk and pudding mix. Ready in just 5 minutes of prep plus freeze time!
Ingredients
- 2 cups Chocolate Milk (preferably Fairlife 2% for creaminess and protein)
- 1 tablespoon Instant Chocolate Pudding Mix (regular or sugar-free, instant only)
Instructions
Step 1 | Mix the Ingredients
Grab a medium mixing bowl or a large measuring cup. Pour in 2 cups of chocolate milk. Add 1 tablespoon of instant chocolate pudding mix. Use a whisk or spoon to stir everything together until the pudding mix is completely dissolved. This takes about 1-2 minutes. You want it smooth with no lumps. Don’t go over the MAX FILL line on the Ninja Creami pint container when you pour it in later.
Step 2 | Pour into the Pint
Carefully pour your chocolate milk mixture into the Ninja Creami pint container. Make sure you stop at the MAX FILL line. Snap the lid on tight to seal it.
Step 3 | Freeze It
Pop the pint into your freezer and let it freeze for at least 24 hours. I know waiting is tough, but this step is key to getting that creamy texture. I usually make a couple of pints at once so I always have one ready.
Step 4 | Set Up the Ninja Creami
After 24 hours, take the pint out of the freezer. Remove the lid and place the pint in the outer bowl. Grab the Creamerizer Paddle and press it into the outer bowl lid until it clicks. Line up the lid’s tab with the outer bowl handle, then twist clockwise to lock it in place.
Step 5 | Spin It
Plug in your Ninja Creami and press the power button. Place the outer bowl on the machine, twist the handle to the right to lock it, and you’ll hear a click. Select the “Lite Ice Cream” setting since this recipe is low in fat and sugar. The machine will run for about 2 minutes. You’ll see the progress bar light up as it works.
Step 6 | Check the Texture
When the machine stops, press the bowl release button and twist the handle back to remove the outer bowl. Unlock the lid by pressing the button and twisting counterclockwise. Check your frosty. If it’s smooth and creamy, you’re good to go! If it’s a bit crumbly, don’t worry—move to the next step.
Step 7 | Re-Spin if Needed
If your frosty is powdery or crumbly, add 1-2 tablespoons of chocolate milk to the pint. Put the lid back on, lock the bowl in place, and press “Re-Spin.” This usually makes it super creamy. You might need to re-spin twice if it’s still not perfect.
Step 8 | Serve It Up
Once it’s creamy, lift the pint out of the outer bowl. Grab a spoon or straw and dig in! You can pour it into glasses for that classic frosty vibe or scoop it into bowls.
Nutrition Information:
Serving Size:
1Amount Per Serving: Calories: 170Total Fat: 4gSaturated Fat: 2.5gCholesterol: 15mgSodium: 180mgCarbohydrates: 25gSugar: 20gProtein: 9g
Did you make this Ninja Creami Frosty Recipe? Please leave a ⭐ rating and review!


Leave a Reply